The Complete Denture Fabrication Process: Guide From Start to Finish
I’ve seen the tandprotese proces from every angle. It can seem complex. But it’s just a series of clear steps. In this article, I will walk you through the complete denture fabrication journey, from the first Tandlæge visit to your final, naturligt udseende smile. You’ll learn the essential steps so you can feel confident and informed. This guide is worth reading because it breaks down a big topic into easy, small pieces. It will help you understand what goes into making a tandprotese that fits you perfectly.
Indholdsfortegnelse
What’s the First Step in the Denture Fabrication Process?
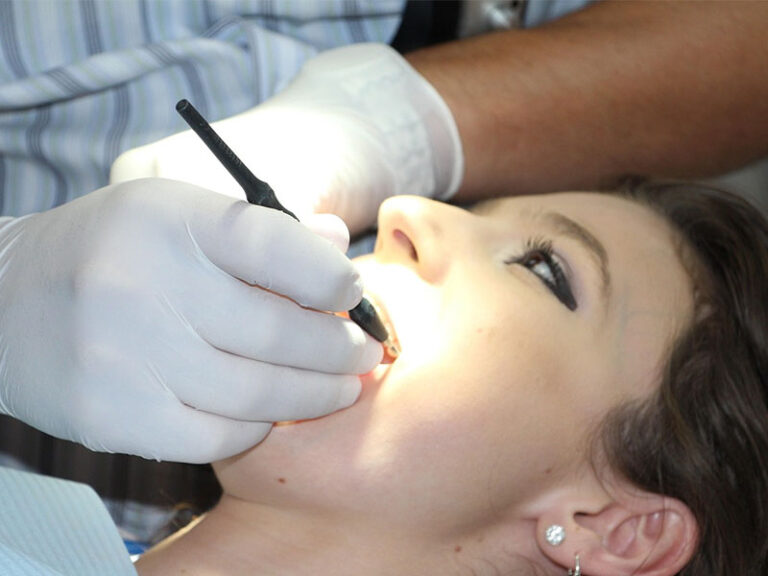
Everything starts with a conversation and a first look. When I meet with edentulous patients, the first thing we do is talk. We create a treatment plan. This plan is our map for the whole journey. We talk about what kind of tandprotese is best, whether it’s a full or partial tandprotese, or even if tandimplantater are an option. The Tandlæge needs to understand your goals for your new smile. This first meeting is key to a successful denture fabrication.
After we talk, the first real action is taking a preliminary impression. Think of it as a first draft of your mouth. We use a soft material in a tray to get a basic shape of your tyggegummi and jaw. This first model isn’t perfect, but it’s the foundation for everything that comes next. The steps in denture making begin here. This initial step helps us create a tandprotese designed for edentulous patients like you. We want to restore your smile, and this is where it all begins.
How Do We Create the Perfect Dental Tray for Your Denture?
Once we have that first impression, my technician and I get to work. We pour dental stone into the impression. This creates a hard model, or cast, of your mouth. This cast is a copy of your jaw. It’s one of the essential steps because we use it to make a special tray just for you. This is called a custom impression tray. A regular tray from a box won’t fit you perfectly, but a custom tray will.
This new custom tray impression is much more detailed. This is why the cast should be slightly over-extended, especially slightly over-extended in the periphery. We might even enhance the tray periphery by adding soft voks around the edges. Den tray periphery is just the edge of the tray, and this extra step helps get a better seal. This gives us great denture stability later on. A better impression means a better-fitting tandprotese. Vi sørger for, at impression in dental stone is perfect to eliminate bubbles and voids.
Why is the Bite Rim So Crucial for a Complete Denture?
Now we have a great model of your mouth. The next step is to figure out how your top and bottom jaws meet. This is where wax rims, also called a bite rim, come in. These are blocks of voks placed on a base that fits your model. The bite rim helps us see many important things. It’s a guide for your new tandprotese.
Den Fælge med voksbid are carefully shaped. The rim er contoured to provide the correct lip support. Wax is added to properly support the lips and face and prevent a sunken-in look. We also mark the midline på voks to make sure your front tand will be in the center. The height of the rim sets the lodret dimension, which is how open or closed your bite will be. It helps us indicate future incisal edge positions so we know where the edge of your new tand should be. These bite rim measurements are vital for the aesthetics and function of your new tandprotese.
How Do We Choose the Right Tooth and Wax for Your Denture?
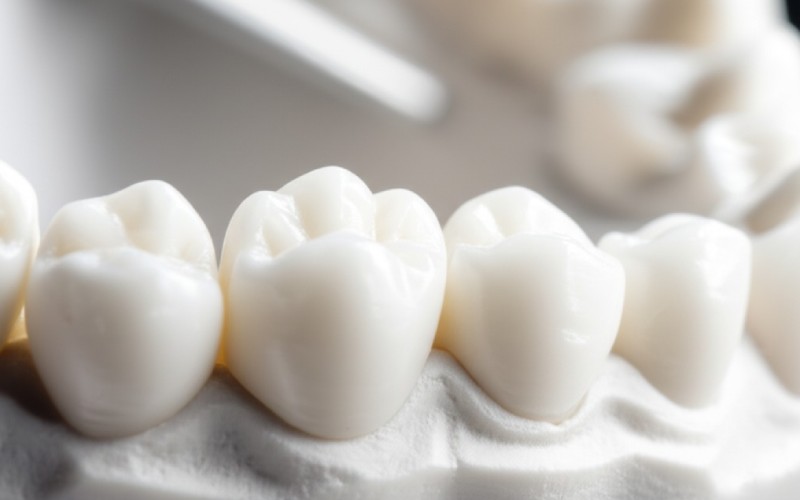
This is one of my favorite parts of the denture process. It’s where we bring your new smile to life. We work with you to pick out the tand. We look at different shapes, sizes, and colors. The goal is to choose a tand that looks like it belongs to you. We’ll look at the tooth mode and shade to find a naturligt udseende match. We want your new tandprotese to look great. Good esthetics er meget vigtige.
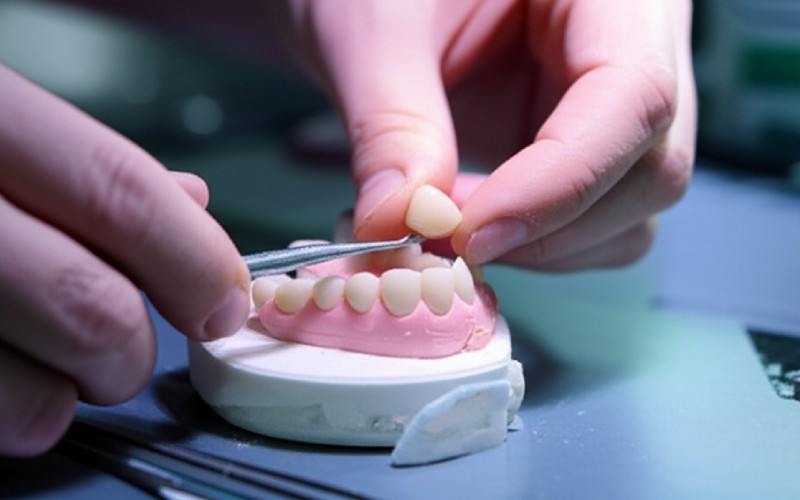
Once you’ve picked your perfect tand, den technician begins the denture set-up. They carefully place each artificial tand i voks på bite rim, sometimes using an articulator to represent your jaw’s movement. They follow the lines we marked and the desired occlusal scheme we planned. The occlusal part just means how the top and bottom tand surfaces meet when you bite. Each tand is set one by one. The technician also adds additional wax around the teeth to create the look of natural tyggegummi tissue. The voks is shaped to have the correct gingival contours. This model, with the voks og tand in place, is almost a preview of your final tandprotese.
What Happens During the Wax Try-In Appointment?
Den voks tandprotese is ready. Now it’s time for you to see it. We call this the try-in appointment. I place the voks model in your mouth. This is a very important step. It’s our chance to check everything before we make the final removable tandprotese. You get to see how the size, shape, and color of the tand look. We check the bite and make sure it feels right.
This is your chance to speak up. Do you like the smile? Does the tand look too long or too short? We can still make changes at this point. We can move a tand, change the voks contour, or adjust the bite. I will check the occlusal balance and lip support one more time. Once you are happy with the look and feel of the voks try-in, you give us the okay. Then, we can move on to making your permanent tandprotese. Denne teeth try-in ensures you love your new smile.
How Do We Fabricate the Final Acrylic Denture?
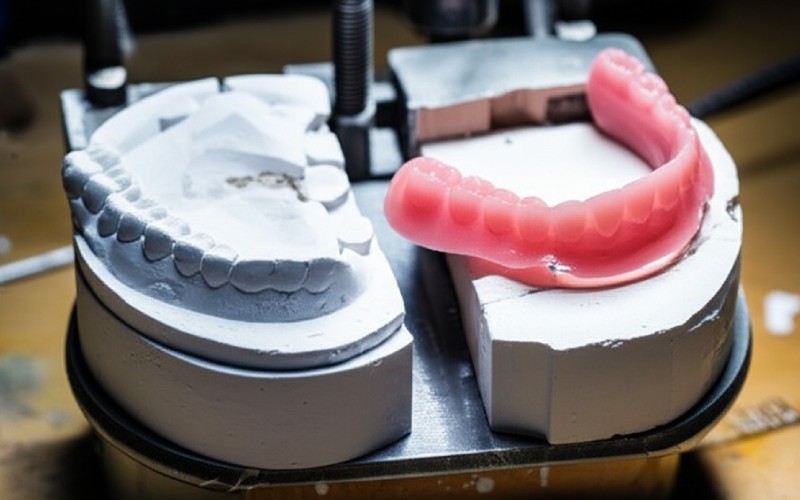
After you approve the voks try-in, it’s time to fabrikere the real tandprotese. We need to replace the soft voks with hard, durable Akryl. This is the process of fabricating den final denture. Den master casts created from your impressions are now key. The voks tandprotese, still on its cast, is prepared for the next big step. This part of the denture fabrication happens in the laboratorium.
The goal is to create a strong restaurering that will last. The Akryl we use is a special Tandlæge grade material. It comes in different shades to match your natural tyggegummi color. The change from voks til Akryl is a careful process. It involves creating a mold around the voks tandprotese. Then the voks is removed, and the space is filled with acrylic. This creates an exact copy of the voks model, but in a much stronger material. This is a major step toward your final denture.
Can We Talk About the “Flask and Pack” Step in Conventional Denture Fabrication?
This sounds technical, but it’s pretty simple when you break it down. It’s part of conventional denture fabrication. Den model with the denture set in voks is placed inside a metal box called a flask. We call this placing the model. Then, we pour wet Gips into the flask, covering the tandprotese og cast. Efter den Gips hardens, the flask is gently heated. This melts all the voks, which is then washed away.
What’s left inside the hardened Gips is a perfect denture mold. It has the empty space where the voks used to be, and the artificial tand is held firmly in the Gips. Den technician then mixes the pink Akryl material and it is packed into the flask. The flask halves are placed back together and put under high pressure. This makes sure the Akryl fills every tiny spot in the mold. The Akryl is then cured, or hardened, to create the solid base of your new tandprotese. Securing it with plaster is a key part of this process.
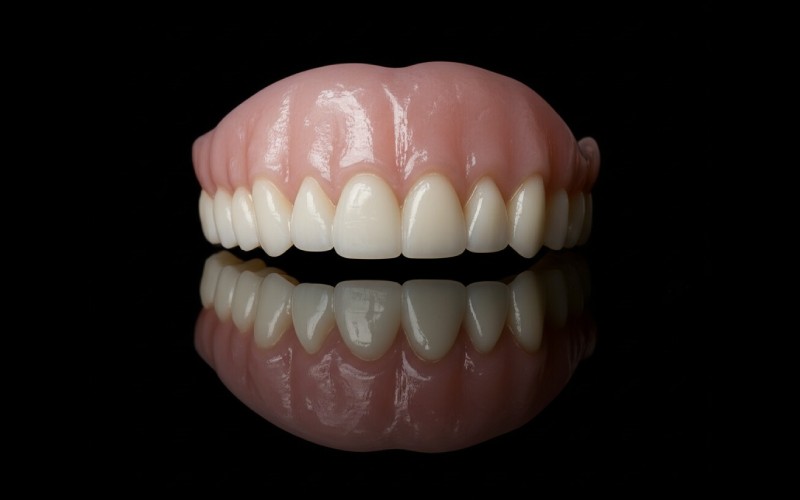
What is the Process for Polishing the Denture?
After the Akryl has hardened, we take the tandprotese out of the Gips mold. At this point, it looks a little rough. There is extra Akryl that needs to be trimmed away. The surface is not smooth yet. The polishing process is what makes the tandprotese comfortable and shiny. It’s the finishing touch that makes a huge difference.
A clinician eller technician carefully trims and sands the tandprotese. They smooth all the rough spots. Then, they use special tools like polishing mops and paste to give the Akryl a high shine. This is not just for looks. A smooth tandprotese is easier to keep clean. It also feels much more comfortable against your tongue and cheeks. The second polishing step is what makes your new tandprotese feel great in your mouth.
What Are the Final Steps in Delivering Your New Denture?
The big day is here! Your final denture is ready. At this appointment, I will place the new tandprotese in your mouth. The steps involved now are all about making sure the fit is perfect. I will check the bite one more time. I will look for any small spots that might be rubbing on your tyggegummi eller palatal area. We can make tiny adjustments right there in the office to make it comfortable.
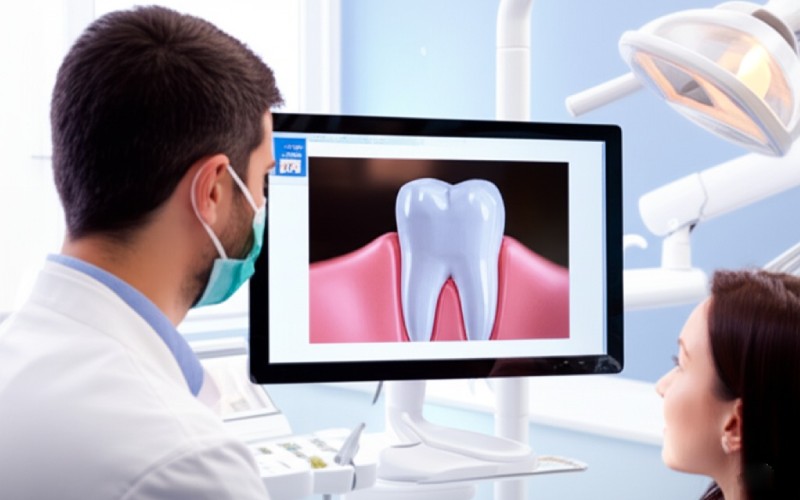
I will also teach you how to care for your new tandprotese. We’ll talk about cleaning it and how to put it in and take it out. It might take a little time to get used to a new tandprotese. Your mouth needs to adapt. We may schedule a follow-up visit to see how you are doing and make more adjustments if needed. The goal is to have a tandprotese that helps you eat, speak, and smile with confidence. We return all items to you, ready to go. The dentures offer a way to erstatte manglende tænder og restore your quality of life.
From Start to Finish: What’s the Big Picture of the Denture Process?
So, let’s look at the big picture, from start to finish. Den complete denture process is a journey we take together. It’s a trin-for-trin plan to restore your smile. We begin with a good treatment plan and a first impression. Then we build a custom tray for a perfect fit. We use voks to map out your bite and smile. You get to approve the look with a voks try-in.
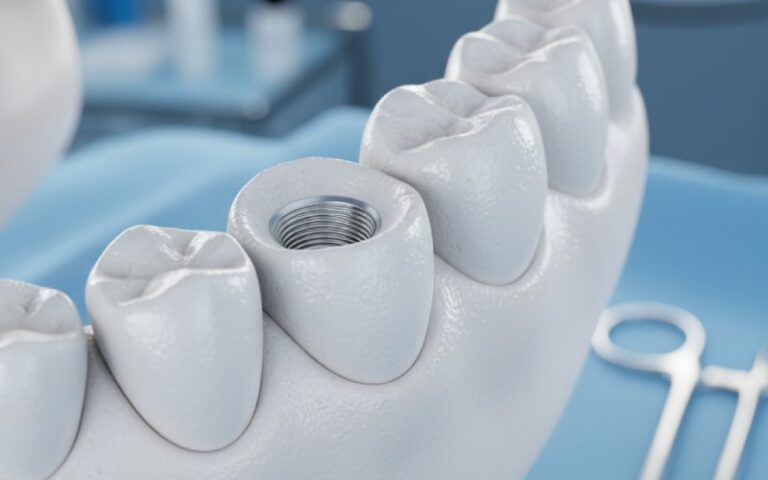
Then, we fabrikere the final removable restaurering using strong Akryl. This includes the flask and pack method, followed by careful finishing. Finally, you get your new tandprotese. For some completely edentulous patients, implantat-understøttede proteser are another great option. An Implantat can help hold the denture in place. Disse implant-supported Tandproteser offer amazing stability. Advancements in dental technology, like a digital tandprotese workflow or tandimplantater, give us more ways than ever to create a beautiful, functional tandprotese. A Delprotese is also an option if you have some natural tand left. The right treatment plan is what matters most for dentures for edentulous patients.
Summary of Key Points to Remember
Here are the most important things to remember about the tandprotese making process:
- It all starts with a good
treatment planand an accurate first impression. - A
custom impression trayis made just for you to get the best fit for yourtandprotese. Voks fælgeare very important. They help set up your bite, your smile line, and yourlip support.- You get to approve how your
tandprotesewill look at thevokstry-inappointment before thefinal dentureis made. - Den
voksmodel is replaced with strong, durable pinkAkrylto create your finaltandprotese. - Polishing is a key final step to make your
tandprotesesmooth, shiny, and comfortable. - Adjustments are a normal part of getting a new
Delproteseellercomplete denture. The goal is a perfect fit.