Lebensechte Emax Kronen Geheimnisse: Eine Anleitung zu Schicht- und Färbeprotokollen
I’ve been a dental technician for over 20 years. I remember when IPS e.max first hit the scene. It was a game-changer. This strong, beautiful lithium disilicate material promised amazing results. But my first few cases were, frankly, a disaster. They looked chalky, gray, and dead. I was frustrated. I knew the material was good, but my technique was missing something.
Over many years of trial and error, I developed a simple, repeatable system for both staining and layering Emax Kronen. This guide is for you, the dental technician who wants to stop guessing and start creating consistently beautiful, esthetic restorations. I’m going to share the exact steps I use to turn a plain ceramic block into a work of art that blends perfectly in the mouth. This article will save you time, materials, and the headache of a remake.
Inhaltsübersicht
Why Do My Emax Crowns Look Lifeless?
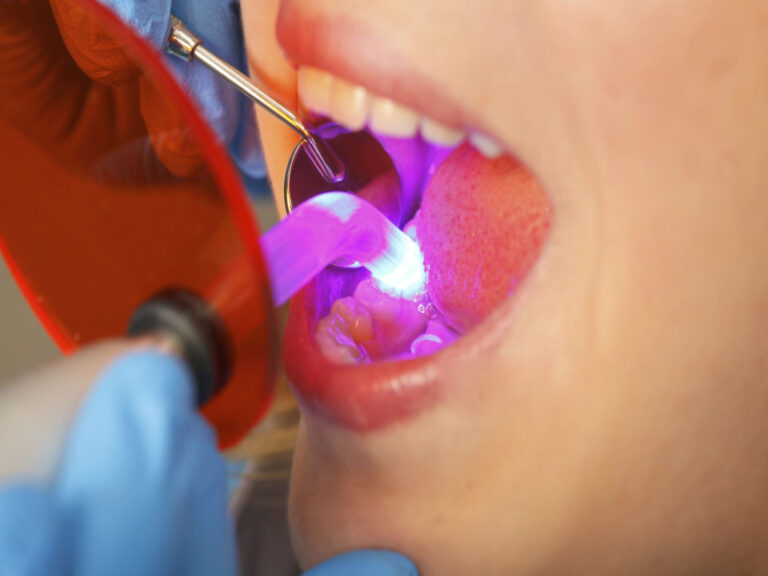
Let’s be honest. We’ve all been there. You pull a new Emax crown out of the oven. You followed all the steps. But it just doesn’t look right. Maybe the color is flat, or it has a low value that makes it look gray in the mouth. The biggest reason this happens is because we forget what Emax really is. It’s a type of glass, a lithium disilicate ceramic. That means it has translucency.
This translucency is both a gift and a curse. It’s a gift because it allows light to pass through the crown, just like a real tooth. It’s a curse because if you don’t control that light, the final shade will be a disaster. The color of the cement and the color of the prepared tooth underneath can shine through your beautiful porcelain work. A good dental technician learns to control this light. We do this by choosing the right starting material and using staining or layering to create depth and block unwanted colors.
What Is the First and Most Important Choice You’ll Make?
Before you even think about staining or layering, your most important job is to pick the right ingot. An ingot is the little block of e.max ceramic that you press to make the crown. They come in different levels of opacity, or how much they block light. If you pick the wrong one, you are fighting an uphill battle.
Think of it this way. If the dentist gives you a case with a very dark tooth stump, you cannot use a High Translucency (HT) ingot. It’s like trying to cover a black wall with one coat of white paint. The dark color will show right through. For a dark stump, you need a Medium Opacity (MO) or even a High Opacity (HO) ingot to block that darkness. For a normal tooth, a Low Translucency (LT) ingot is often my favorite choice. It gives me a great balance of brightness and life. Choosing the right ingot for the job is 50% of the battle for a great esthetic result.
Should I Use a Staining or Layering Technique?
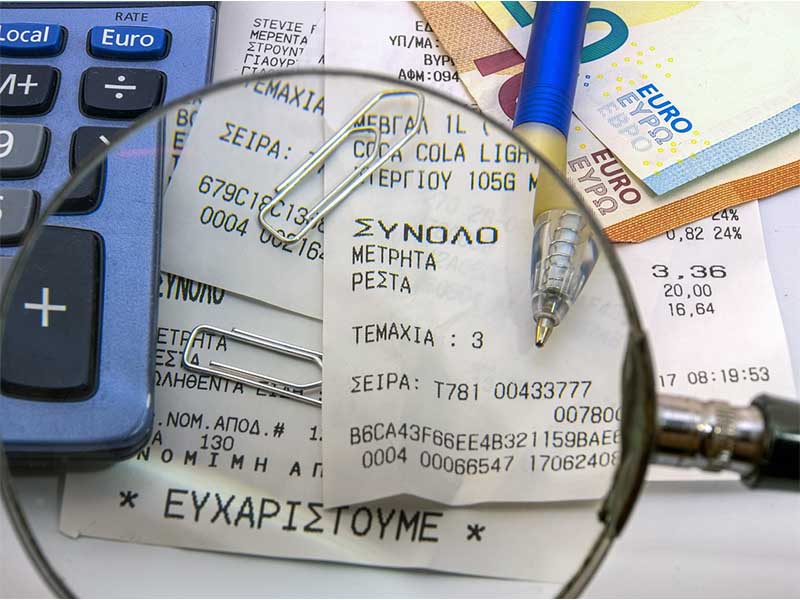
This is a question I get all the time. The answer depends on three things: time, money, and where the tooth is in the mouth. A full-contour crown, which is a crown made from one solid block of e.max, is usually finished with a stain and glaze technique. This is fast, strong, and very efficient. For a back molar where strength is key and the esthetics don’t have to be perfect, staining is a great choice.
But for a front tooth, where every detail matters, I almost always choose a layering technique. This involves a “cut-back” of the main crown. We then add thin layers of different porcelains on top. This takes more time and skill, but the result is a crown with unmatched depth and realism. Layering allows you to create subtle effects, like mamelons and a translucent incisal edge, that are very hard to get with just stain. As a dental technician, mastering both techniques makes you incredibly valuable.
What Is My Go-To Protocol for Basic Emax Staining?
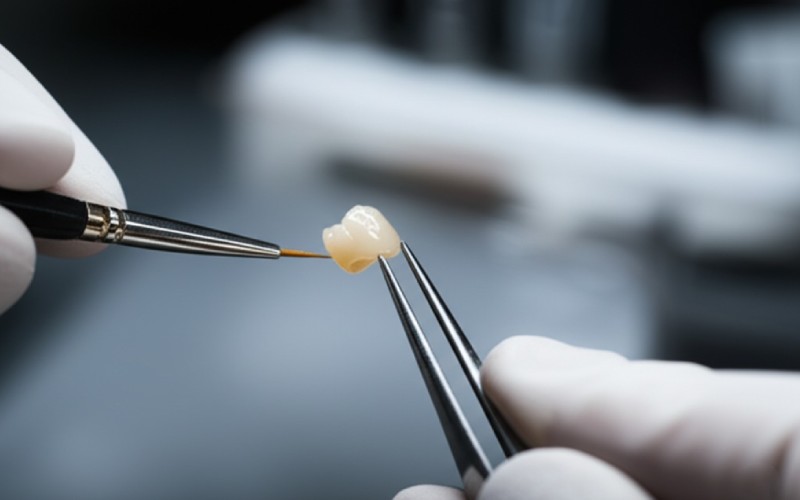
Staining an Emax crown should be a simple process. My goal is to add color and life without making the crown look like it was painted. After I have my full-contour lithium disilicate crown, I first prepare the surface. I lightly sandblast it with 50-micron aluminum oxide at very low pressure. This cleans the surface and gives the stain something to grab onto.
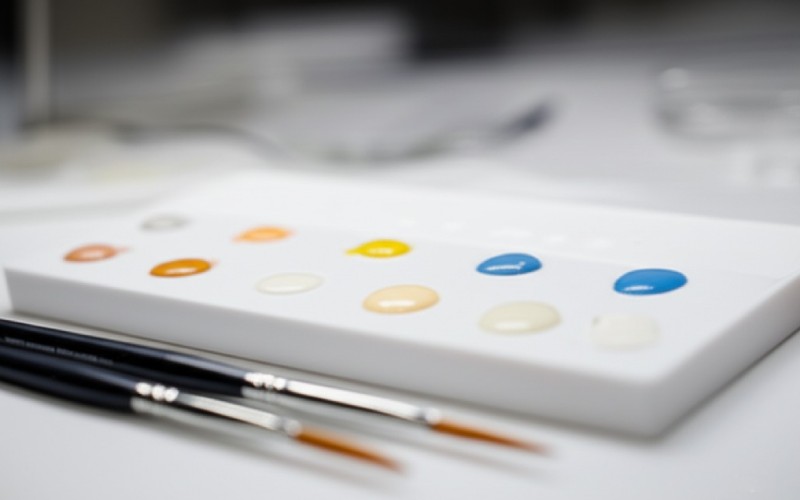
Next, I apply my stains. I use a simple palette. I will have a few body stains to control the main shade (the chroma and hue). I’ll have a blue or gray stain for the incisal area and maybe an orange or brown stain for the cervical area and grooves. I mix the stains with a glaze liquid. I apply a very thin wash of the main body shade over the whole crown. The key word here is dünn. You are not painting a wall. You are tinting glass. After the main color is on, I add the other colors where they are needed.
How Can I Add Realistic Characterization with Stains?
This is the fun part. Characterization is what separates a good crown from a great one. After the basic stains are on, I look at my picture of the neighboring teeth. Does the tooth have little white spots? I can add those with a white stain. Does it have tiny craze lines? I can use a fine brush and a bit of brown stain to mimic them.
One of the most important characterization effects is creating mamelons. These are the three little bumps you see on the biting edge of new front teeth. I use an orangey-brown stain to create a subtle shadow between where the mamelons would be. Then, I might add a touch of blue or white on the very tip of the incisal edge to increase the look of translucency. This simple characterization fools the eye and makes the ceramic look like a real tooth. Finally, it all gets locked in during the glaze firing.
What is the Cut-Back Technique for Advanced Layering?
The cut-back technique is the foundation of a layered Emax crown. After you press your full-contour crown, you don’t just stain it. Instead, you take a diamond bur and carefully cut away a section of the porcelain. Most of the time, you are cutting away the front one-third of the crown, from the middle of the tooth to the incisal edge.
This cut-back creates space. You have now made a strong lithium disilicate base that provides the right value and a base shade. Now you can use that new space to build up layers of a softer, more beautiful layering porcelain. This porcelain lets you play with light in a way you never could with just stain. The cut-back must be smooth and rounded. Any sharp angles will create problems when you add your new ceramic layers.
How Do I Build the Perfect Incisal Edge?
Building the incisal edge is where the art happens. After the cut-back, this is the first place I add my layering porcelain. I don’t use just one material. I use several to create a halo effect and natural translucency. I might place a small amount of a dentin-colored porcelain to recreate the mamelons.
Then, I will add a very translucent porcelain over and around them. This special incisal porcelain is often bluish or grayish. It allows light to pass through the tip of the crown, just like a natural tooth. I am very careful not to make this layer too thick. Too much translucency will make the edge look dark and gray in the mouth. It’s a delicate balance that you learn with practice. The goal is to make the edge of the crown disappear.
How Do You Get the Cervical Area to Blend Naturally?
The cervical area, which is the part of the crown near the gum line, is a critical area. If you get it wrong, you will see a dark line or an unnatural color change. After I build my incisal edge, I work on the body and cervical area. The ceramic I use here needs more chroma, or color intensity.
I use a body porcelain that matches the main shade of the tooth. I carefully blend it from the middle of the tooth down to the cervical edge. For the last millimeter right at the gum line, I might use a special cervical porcelain that has even more chroma. It might be a little more orange or brown. This helps the crown blend seamlessly with the root of the tooth. A well-done cervical area makes the crown look like it is growing right out of the gums.
What’s the Secret to a Perfect Firing and Glaze?
You can do the most beautiful porcelain layering in the world, but if your firing is wrong, you will ruin it. Every porcelain system has a specific firing schedule. You must follow it perfectly. Firing too hot can burn out the colors and make the porcelain look milky. Firing too low can leave the ceramic weak and chalky. Your oven must be calibrated often.
For the final glaze, my secret is: less is more. A thick, heavy glaze will fill in all of your beautiful details and surface texture. It makes the crown look like a glass marble. I use a very thin layer of glaze. Sometimes, I prefer to do a mechanical polish instead. I use special polishing wheels and pastes to create a natural, satin shine on the crown. This looks much more like a real tooth than a super high gloss. The final firing and polishing is your last chance to make the crown perfect.
How Do I Do a Final Check on Shade, Hue, and Value?
Before the crown leaves my lab, I do a final check. I don’t just check it under my bench light. I check it under different light sources, including natural daylight if possible. I am looking at three things. First is hue, which is the basic color (is it an A shade, B shade, etc.?). Second is chroma, which is the intensity of that color.
But the most important thing I check is value. Value is the brightness or darkness of the crown. A crown with the wrong value will stand out, even if the shade is a perfect match. A low-value crown looks gray. A high-value crown looks too white and fake. By squinting my eyes, I can easily see if the value of my crown matches the value of the neighboring teeth. If it all blends together, I know my work as a dental technician is done.
Häufig gestellte Fragen (FAQ)
Q: What do I do if my Emax crown comes out looking gray or low in value?
A: This usually means your starting ingot was too translucent for the case, or your cut-back was too deep, allowing the dark background to show through. You can try adding a wash of a high-value or opaque stain, but it may be best to remake it with a more opaque ingot.
Q: Can I add more stain and re-fire a crown if the shade is wrong?
A: Yes, you can. You can lightly sandblast the crown again, add new stain, and run it through another glaze firing. Be careful not to do this too many times, as each firing can affect the porcelain.
Q: What is the biggest mistake people make with Emax layering?
A: The biggest mistake is making the layers too thick. The cut-back should only remove enough material to create space for thin, life-like layers of porcelain. Thick, bulky layers of ceramic will look unnatural and opaque.
Dinge zum Merken
- Choose the Right Ingot: Your final crown is only as good as your starting material. Match the ingot’s opacity to the needs of the case.
- Stain for Speed, Layer for Beauty: Use staining for strong, efficient crowns in the back. Use the cut-back and layering technique for the best esthetic results on front teeth.
- Thin is In: Whether you are staining or layering, apply your materials in thin, controlled layers.
- Control the Light: Remember that lithium disilicate is translucent. Your job is to use that translucency to create life, not let it create problems.
- Check Your Value: The brightness of the crown is often more important than the exact shade. Squint your eyes to check if the value blends in.
- Follow Firing Instructions: Do not guess with your firing programs. An incorrect firing can ruin perfect work.