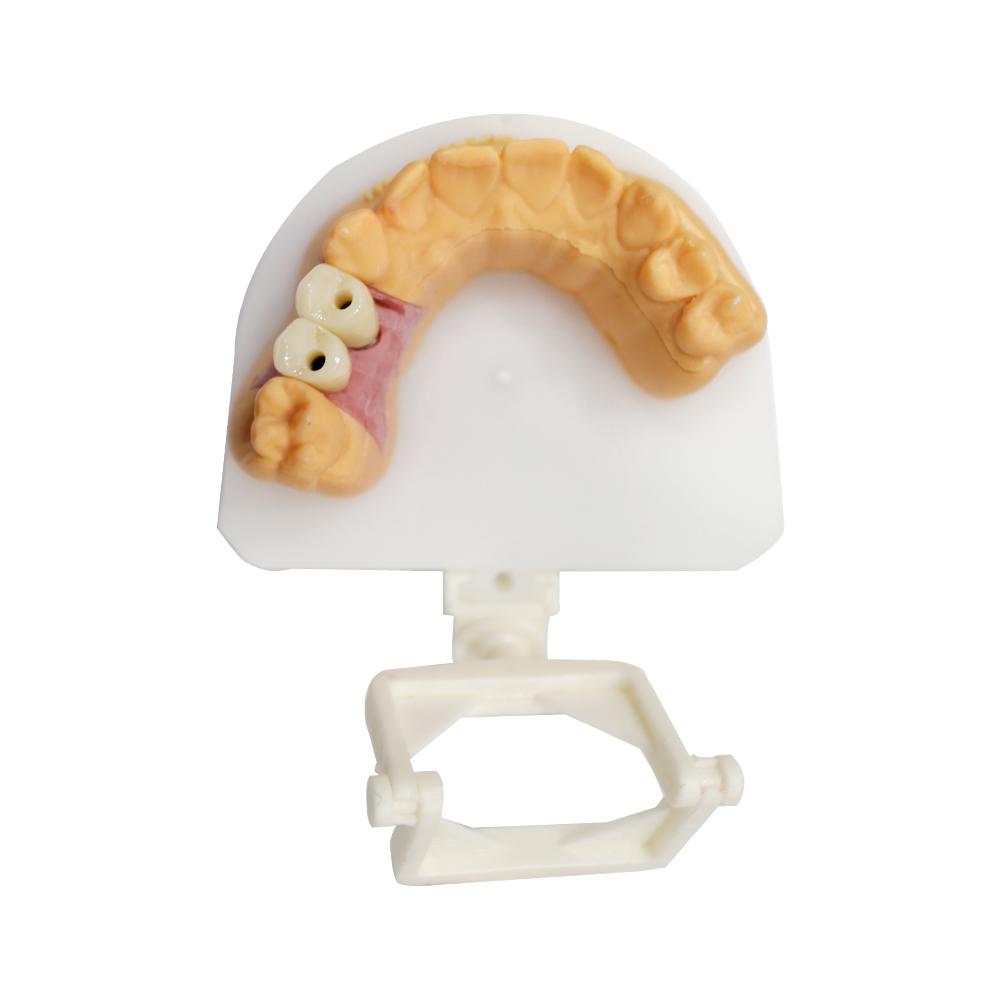
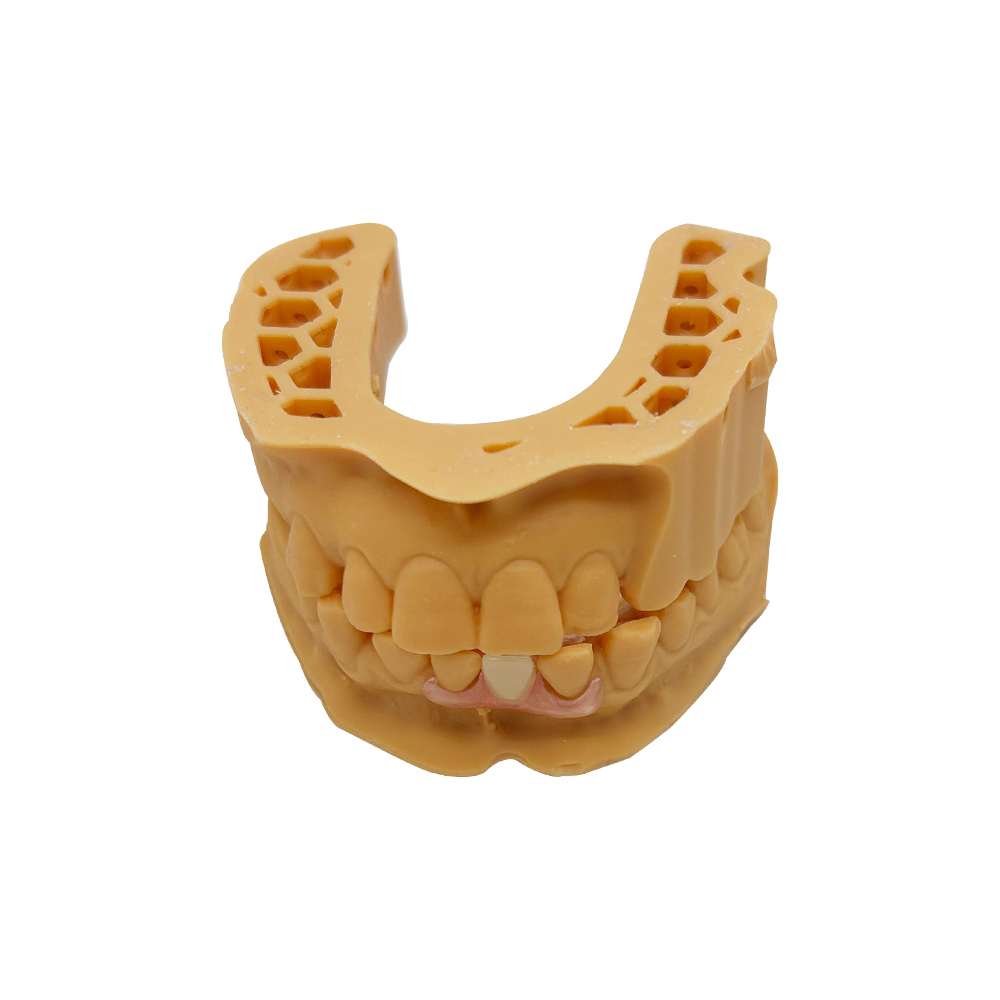
Añadir dientes a la prótesis parcial Valplast
🕢 [ ¡Rellene el formulario y le responderemos en 30 minutos! ]
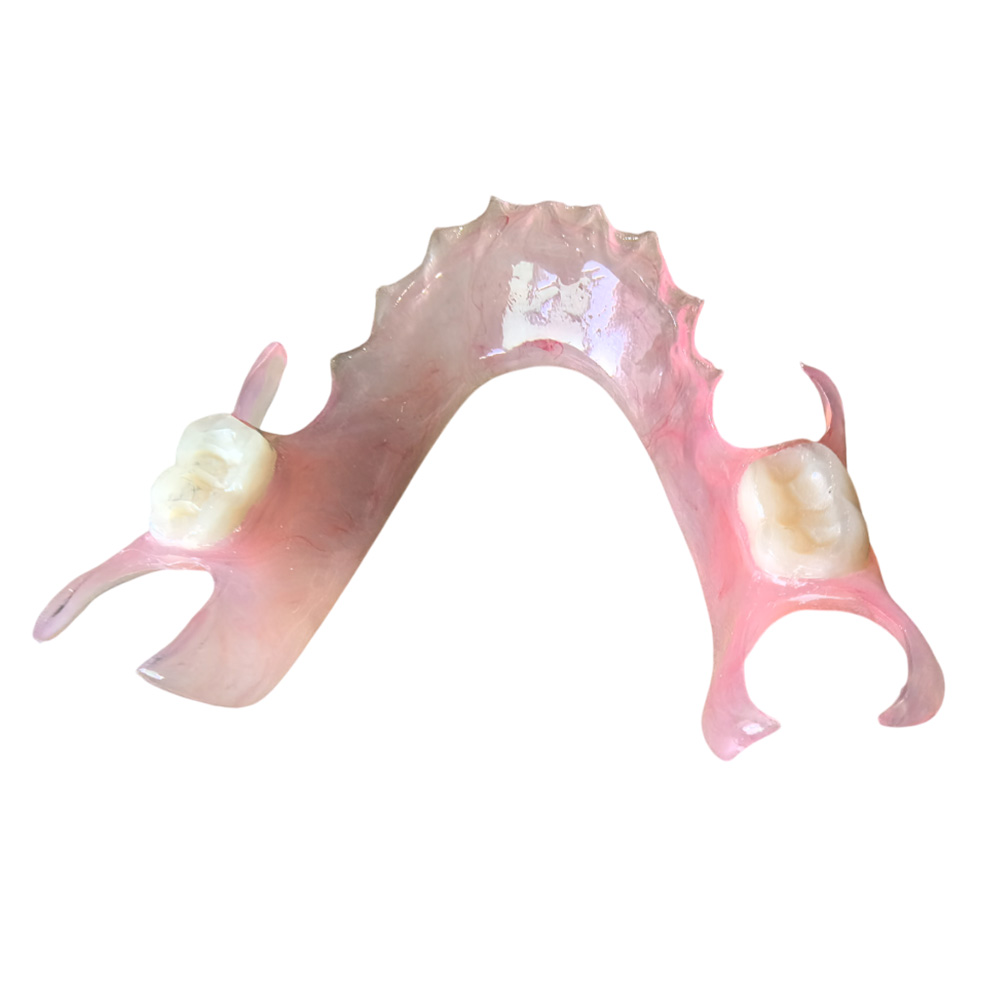
Valplast Partial Denture Teeth Adding Service
Do you need help with adding teeth to Valplast partials? Our service uses the latest knowledge of dental materials, modern lab methods, and a full understanding of Valplast’s special qualities. This allows us to perfectly fit new prosthetic teeth into the flexible partials you already have. Our Valplast tooth adding service is a better option than making a whole new denture. It greatly cuts down on the patient’s time in the dental chair, their discomfort, and the cost. At the same time, it keeps the original fit and bite (occlusion).
We stick to the top global standards, always put money into new research, and are quick to use new technologies. This makes sure our partners—dentists, dental clinics, hospitals, and other dental labs around the world—get a service that doesn’t just meet their needs, but goes beyond what they and their patients expect.
What is This Service?
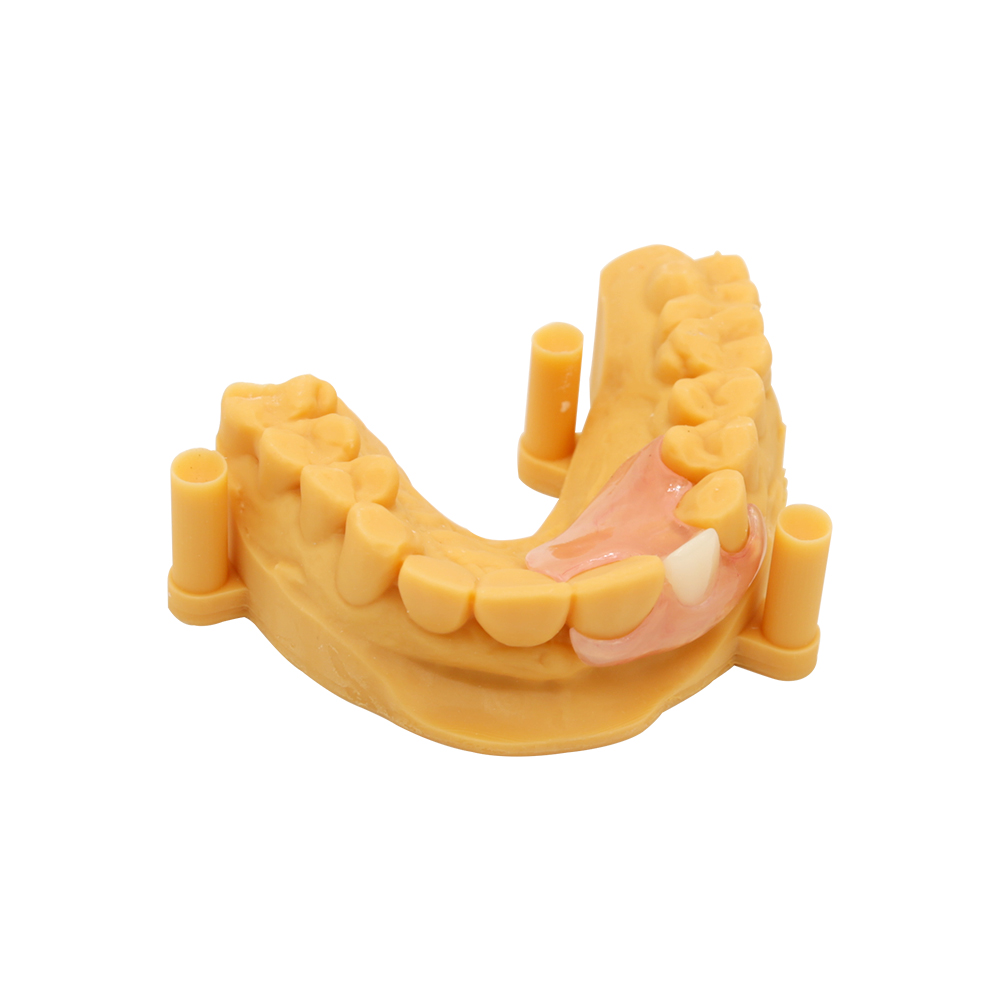
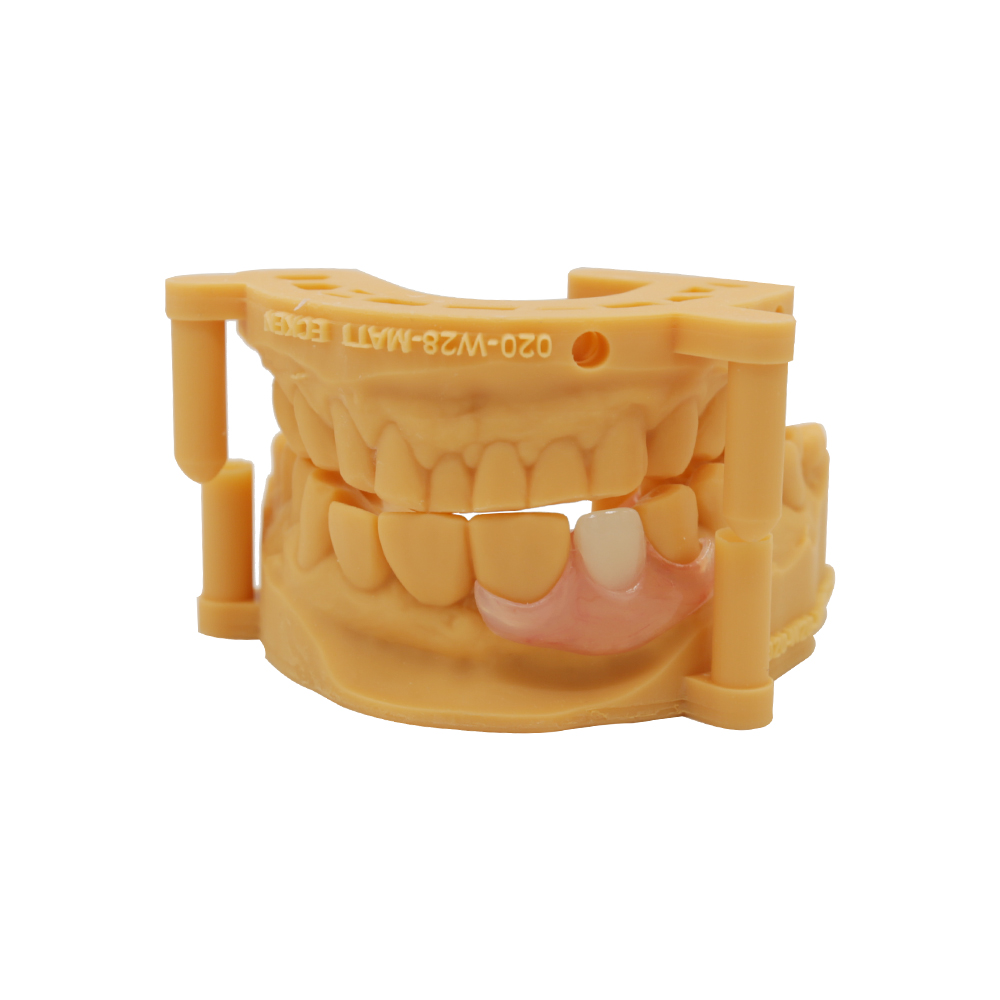
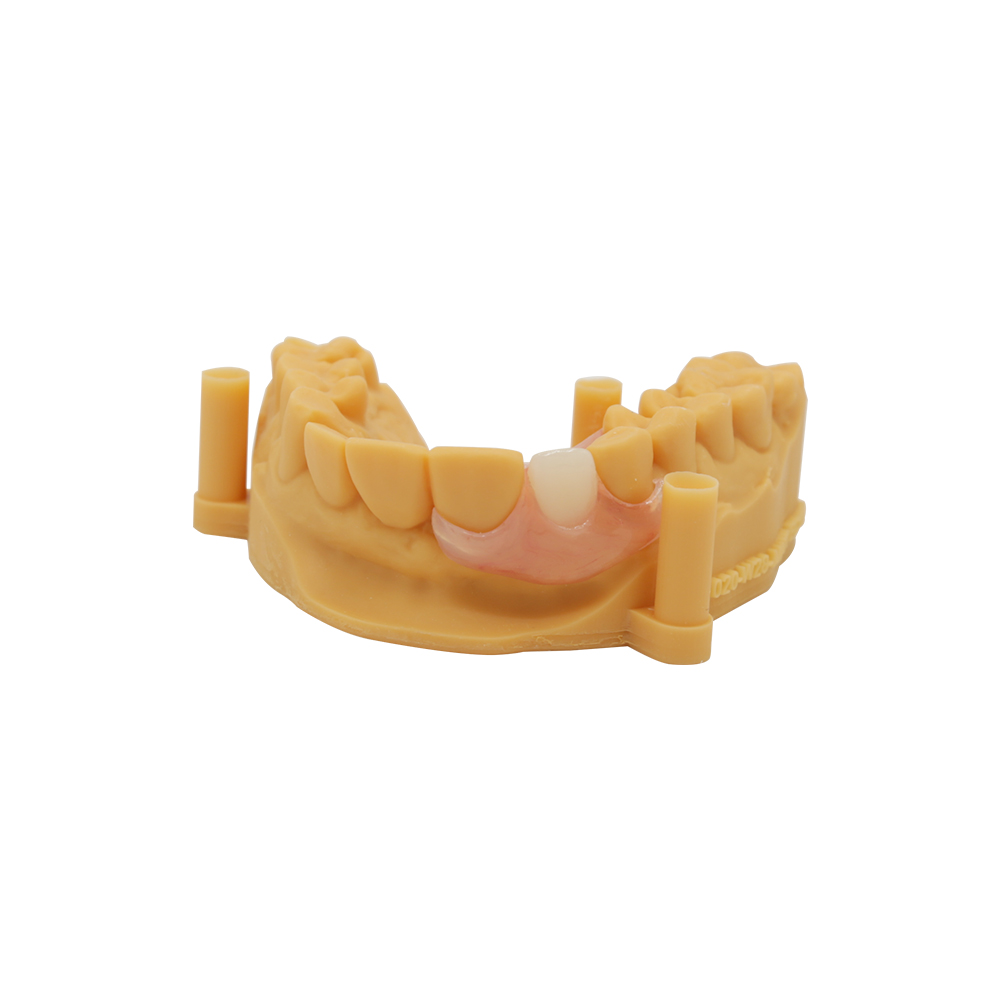
The Valplast Partial Denture Teeth Adding Service from Istar Dental Lab is a very specific process. It focuses on carefully fitting new prosthetic teeth into a Valplast flexible partial that a patient already has. This is different from making a brand new denture. It’s a focused solution for certain dental situations.
Características principales
Choosing to add teeth instead of making a new Valplast partial has several big benefits:
- Cost-Effectiveness: Adding a tooth costs the patient much less than a new denture.
- Reduced Chair Time: The dental work usually takes less time, which means fewer visits for the patient and fewer adjustments in the dental chair.
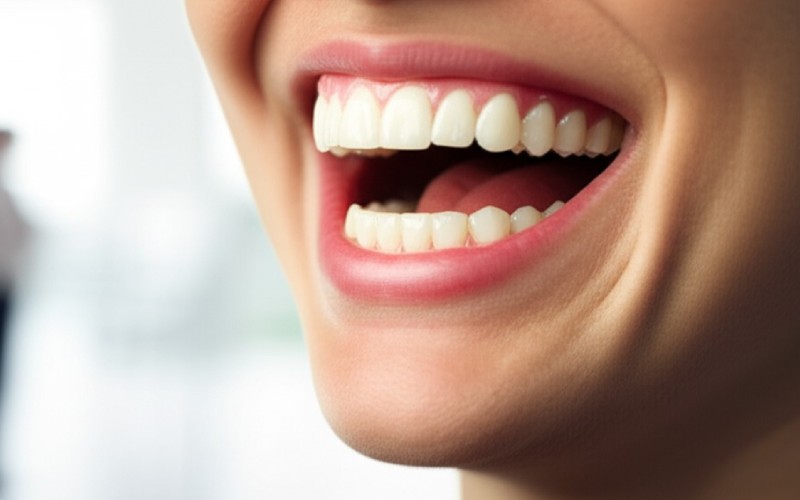
- Patient Preference and Comfort: Patients often want to skip the “getting used to it” phase that comes with a new denture. Adding a tooth keeps the original fit and bite, causing less disruption and making it more comfortable for the patient.
- Preservation of Existing Fit: The process is designed to keep the exact fit and hold of the original Valplast base. This is very important for making the patient happy and ensuring the denture stays stable for a long time.
Best Usage Scenarios
The main reasons for adding teeth to existing Valplast partial dentures include:
- Recent Tooth Extraction: When a natural tooth next to or in the space of the denture is removed and needs to be replaced.
- Loss of an Abutment Tooth: If a tooth that was used to support the partial denture can’t be fixed or is lost.
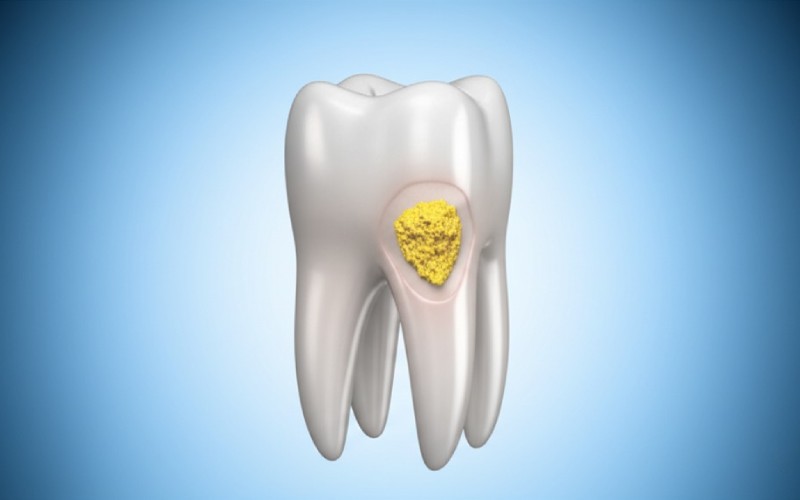
- Non-Restorable Teeth: When a tooth is damaged from a failed root canal (endodontic failure), a bad injury, or a lot of decay. It needs to be taken out and replaced on the denture they already have.
This method is a great choice when the current denture is stable, fits the gums well, and the patient is happy with how it works and looks.
Ideal candidates for this service often include:
- Elderly Patients: Who may lose several teeth over time and prefer a simpler, cheaper option.
- Patients with Financial Constraints: For whom a new denture might be too expensive.
- Individuals with Medical Conditions: That may make it difficult to have many dental appointments or major surgery.
- Patients with Stable Oral Conditions: And have little to no ongoing gum disease (periodontal disease), making sure the changed denture will last a long time.
Although adding teeth is very helpful, it’s not right for every situation. It should not be done when:
- The existing Valplast partial is very worn, broken, or doesn’t fit well anymore.
- Many teeth need to be added, which could weaken the denture’s structure or make it bulky and hard to wear.
- A lot of relining or extension of the base is needed. Valplast’s flexibility and poor chemical bond to new material make these changes hard to do and often not as long-lasting.
Material Compatibility and Bonding Protocols
Surface Treatment Methodologies
To solve Valplast’s bonding problems, Istar Dental Lab uses several different ways to prepare the surface. This includes proven physical and chemical methods, and we also look into new technologies.
Mechanical Surface Treatments
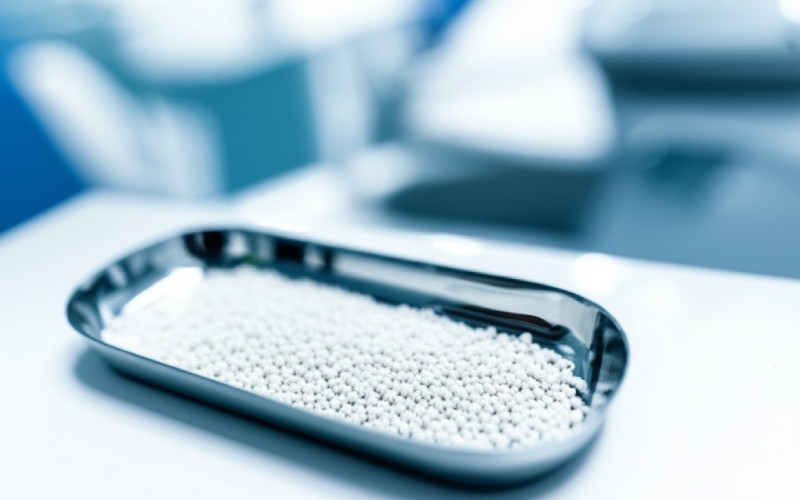
Sandblasting (Air Abrasion): This is a key part of our process. We use 50–110 μm aluminum oxide particles at a pressure of 2–3 bar for 10–20 seconds. Studies (e.g., Al-Thobity et al., 2016) show again and again that sandblasting makes the surface much rougher. This helps the new material grip on mechanically (micromechanical retention). But, we have to be very careful, because too much sandblasting can damage the material.
Chemical Surface Treatments
Primers and Solvents: Using chemical primers is needed to help the surface get wet and allow for chemical reactions. We use special polyamide primers containing methyl methacrylate (MMA) or 4-META, such as GC Repair Primer o Tokuyama Universal Primer. While some old methods used ethyl acetate or acetone as solvents to swell the Valplast surface, we find they don’t always work well and aren’t as strong over time, so we prefer to use newer, better primers.
Advanced and Emerging Surface Modification Techniques
Istar Dental Lab is always looking into and testing new ways to treat the surface to make the bond stronger and last longer:
- Plasma Treatment: Atmospheric plasma treatment (e.g., with argon or oxygen plasma) is being studied to see if it can make the surface more ready to bond. Lab studies suggest that plasma treatment for 60–120 seconds can make the bond up to 30% stronger. While this isn’t a standard method everywhere yet, our research team is leading the way in using this technology.
- Laser Irradiation: Lasers (e.g., Er:YAG, CO2) are also being looked at for changing the surface, which gives us exact control over its shape.
- Silane Coupling Agents and Nanocoatings: Early tests using silane coupling agents (e.g., γ-MPS) and nanocoatings (e.g., tiny silica or titania particles) look promising for making the chemical bond better. Early results show up to a 50% improvement in the initial bond strength, but we are still gathering information from real-world use.
Bonding Agents and Curing Methods
Choosing and using the right bonding agents is very important for making Valplast tooth additions that last.
- Specialized Flexible Denture Adhesives: Regular MMA-based auto-polymerizing resins don’t stick very well to Valplast unless the surface is treated very carefully. Because of this, Istar Dental Lab mainly uses newer flexible denture glues made just for polyamide materials, like Flexite Bonding Agent o Valplast Repair Resin. These show much better bond strength and flexibility, with reported shear bond strengths of 8–12 MPa after the surface is properly prepared. Newer products, including GC Reline II and newer Valplast Repair Resins, have shown even more improvement, giving 30–40% stronger bonds compared to old methods.
- Curing Methods: We prefer to use heat-cured resins because they usually work better than cold-cure (self-cure) resins for bond strength and how long they last. Light-cure composite resins don’t work as well because they don’t soak in properly and don’t mix well. Dual-cure systems are being studied for future use.
Long-Term Hydrolytic Stability and Fatigue Resistance
A big technical problem is making sure the bond stays strong over time when it’s in the mouth, which is a wet and active place. Soaking up water (water sorption) and the stress of chewing (cyclic loading, e.g., 5,000 cycles between 5°C and 55°C) can weaken the bond strength by 20–40% over 6–12 months. The flexible glues we choose are made to hold the bond together better than stiff resins under these conditions.
Istar Dental Lab’s Protocol and Quality Assurance
At Istar Dental Lab, our usual process for adding a tooth to a Valplast partial includes a careful mix of physical (sandblasting) and chemical (using a special primer) surface treatments. This is followed by carefully applying a matching flexible repair resin. We closely follow the special instructions provided by Valplast International and other top makers, using their approved repair kits. This makes sure we get the best results and follow the warranty rules.
We always check important measurements like Shear Bond Strength (SBS) and Tensile Bond Strength (TBS), following ISO 10477 y ISO 22112 testing standards. Our own quality control requires SBS values of >7 MPa for all repairs, which is good enough for use in patients. Even with the best methods, the repair might not be as strong as the original injection-molded Valplast, but our careful process ensures it’s as strong and long-lasting as possible. Because we are dedicated to R&D, we are always testing and using the newest improvements to make every Valplast tooth addition more predictable and successful.
Clinical and Laboratory Workflow for Tooth Addition
Successfully adding a tooth to an existing Valplast partial needs the dentist and the dental lab to work together very carefully. At Istar Dental Lab, we have improved this process to make sure it’s exact, looks good, and lasts a long time.
Clinical Impression Techniques
The first and most important step is to get an accurate mold of the denture’s position in the patient’s mouth.
- Pick-Up Impression: The best way is to take a pick-up impression with a very accurate material, like polyvinyl siloxane (PVS). During this, the Valplast denture must be fully in place in the mouth to get its exact position compared to the gum line where teeth are missing (edentulous ridge) and the teeth next to it. This makes sure the lab gets an exact copy of the denture’s fit and the area around it.
- Altered Cast Technique: For more difficult cases, especially those with extensions at the back, an altered cast technique might be used. This helps it fit the gums better by taking an impression of the gum line while the patient is biting down.
Istar Dental Lab’s Comprehensive Laboratory Workflow
When we get the impression and the Valplast partial, our expert technicians follow a strict, step-by-step process:
- Model Preparation and Duplication
- The impression we receive, with the Valplast denture inside, is carefully filled with high-quality dental stone to make a master cast.
- For cases that need big changes or to keep the original fit, we often make a copy of the master cast.
- A silicone matrix or putty index is carefully made to copy the original tooth’s spot and shape. This is a very important guide for placing the new tooth.
- Tooth Selection and Shade Matching
- Matching the color and shape to the existing teeth is very important for making it look natural. We ask the dentist for the original tooth maker and color code whenever we can.
- If the original teeth are no longer made or we can’t get them, our technicians have the skills to do custom coloring or staining to make it blend in perfectly.
- Wax-Up and Tooth Positioning
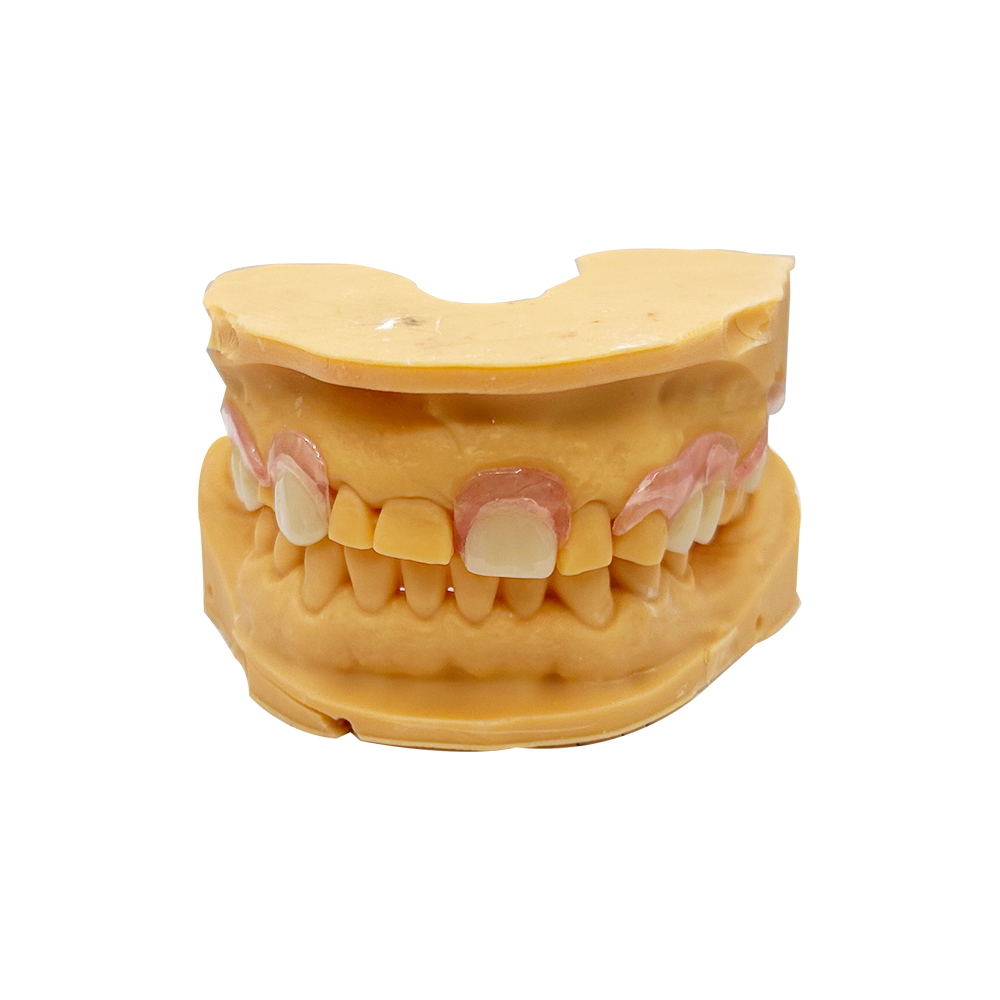
- The new tooth is carefully placed in wax on the master cast. We pay close attention to making sure the bite is right (occlusal contacts), it lines up correctly, and it looks good overall.
- For difficult cases or front teeth where looks are critical, we suggest a wax try-in. This lets the dentist check the position, color, and look in the patient’s mouth before we finish it, which reduces the need for adjustments later.
- Valplast Material Processing—Injection Molding
- The most popular and long-lasting lab method for adding teeth to Valplast is the injection molding process.
- The area on the existing Valplast base where the new tooth will go is carefully trimmed away. Most importantly, special shapes for mechanical grip, like undercuts or dovetails, are carefully made in the existing Valplast. This helps the new material bond better.
- The new tooth is then put in place, and Valplast resin is carefully injected, melting together with the old framework. While some labs might use a “patch” method for very small additions, we usually don’t recommend it because it’s often not as strong.
- Surface Preparation and Bonding
- Getting a strong bond between the new and old Valplast material is a key challenge. Our process includes careful surface roughening (like sandblasting or grinding) and using Valplast-specific bonding agents (e.g., Valplast Repair Resin, Valplast Bonding Liquid) to get the best stick and reduce the chance of it peeling apart (delamination).
- Finishing, Polishing, and Quality Control
- After it’s made, the denture is carefully finished and polished using special Valplast polishing kits, including pumice and high-shine polish, to get a smooth, comfortable, and nice-looking surface.
- Our multi-step quality control process includes:
- Checking the exact fit on the master cast.
- Carefully looking for any holes or bubbles (voids or porosity) where the old and new Valplast meet.
- Making sure the new tooth is firmly attached with no visible lines or color differences.
- Fit Verification and Clinical Remount (Post-Delivery)
- When the dentist gets it, the denture is put in the patient’s mouth to check the fit, how well it stays in, and the bite.
- Pressure-indicating paste or silicone fit-checkers are used to find any sore spots. These are then carefully adjusted in the dental chair using fine carbide burs and rubber points made for flexible materials.
How It Works for Short
| Paso | Lo que ocurre |
| 1. Dentist Impressions | Dentist or clinic takes a dental impression of the patient’s mouth and sends it to our lab. |
| 2. Lab Assessment | Our certified lab reviews the plan and checks if a tooth can be added based on your order. |
| 3. Expert Fabrication | Our Valplast experts add the teeth using the right resin. |
| 4. Quality Check | The finished repair or tooth addition is carefully checked for fit and look. |
| 5. Return to Clinic | The updated partial denture is sent back quickly to the dentist, clinic, or dental lab. |
| 6. Patient Fitting | Dentists ensure comfort and fit before delivery to the patient. |
What Makes Our Service Different?
We know all about the common mistakes that can ruin the result of adding teeth to Valplast:
- Inadequate Impression Capture: This leads to a bad fit. Our clear instructions for impressions and good communication with dentists help prevent this.
- Insufficient Mechanical Retention: Between old and new Valplast. Our technicians are trained to make the best shapes for a strong grip.
- Shade Mismatch: We fix this with our careful color matching and custom coloring skills.
- Over-polishing: Which can make the material thin and weaken it. Our technicians are very skilled at finishing Valplast.
- Improper Surface Preparation: This is the main reason repairs fail. We solve this by strictly following tested methods and using special materials.
While our main process is solid, Istar Dental Lab also uses new technology:
- We use digital scanning and 3D-printed models for difficult cases, which makes our work more exact and faster.
- We always check out systems from top makers like Valplast International, Glidewelly Dental Arts Laboratories, changing our methods to include the best new techniques and special improvements.
- We are looking into using CAD/CAM and 3D printing right in the dental office for making quick models, but the limits of Valplast material still make this hard to do for everyone.
Our focus on quality shows in our multi-step checking process:
- Initial technician check.
- Supervisor review.
- Final clinician approval.
- Careful records of color, shape, and batch numbers so we can track everything.
- We use digital photos to show the work before and after the repair, which helps us communicate clearly with our partners.
Our usual turnaround time for adding a tooth in the lab is 3–7 days, depending on how hard the case is and what the client needs.
Quality Assurance at Istar Dental Lab
Our complete quality check system is part of every step of the Valplast tooth adding process:
- Multi-Stage Verification: From checking the materials at the start to the final product, every stage is carefully checked.
- Trained Personnel: Our technicians are highly trained and are always learning about the newest materials, methods, and rules.
- Internal Audits: Regular internal checks make sure we always follow the rules and keep getting better.
- Traceability: We can track every repaired denture back to the materials, methods, and technicians used.
Order Our Service Today
- Contact us for lab, shipping, or case submission instructions.
- Prepare impressions and prescriptions at your practice.
- Ship your case to us or use our local pickup options.
- We handle the rest, with full support for all questions.