Your Ultimate Guide to Choosing the Best Dental Impression Trays
A great restoration starts with a great impression. The key to that impression? The dental impression tray. Choosing the wrong one can cause distortion, waste expensive impression material, and lead to a poor fit for a couronne ou pont. This article is your simple guide to dental impression trays. I’ll help you choose the right tray every time. This will save you time, money, and make your patients happier. This is everything you need to know.
Table des matières
What Exactly Is a Dental Impression Tray?
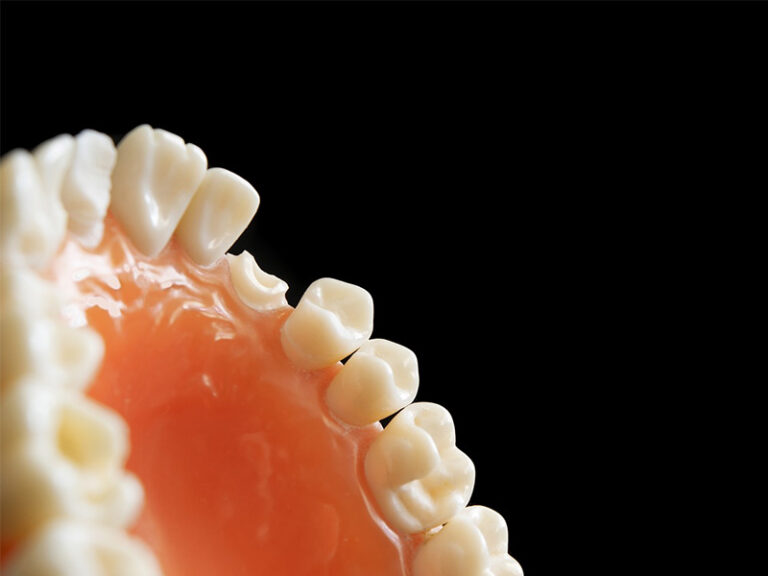
Let’s start with the basics. A dental impression tray is a tool that holds the impression material while you are taking an impression of a patient’s teeth. Think of it like a baking pan for a cake. The pan gives the cake its shape. In the same way, the impression tray holds the gooey material in place. It helps the material capture all the details of the teeth and gums. This process is called impression taking.
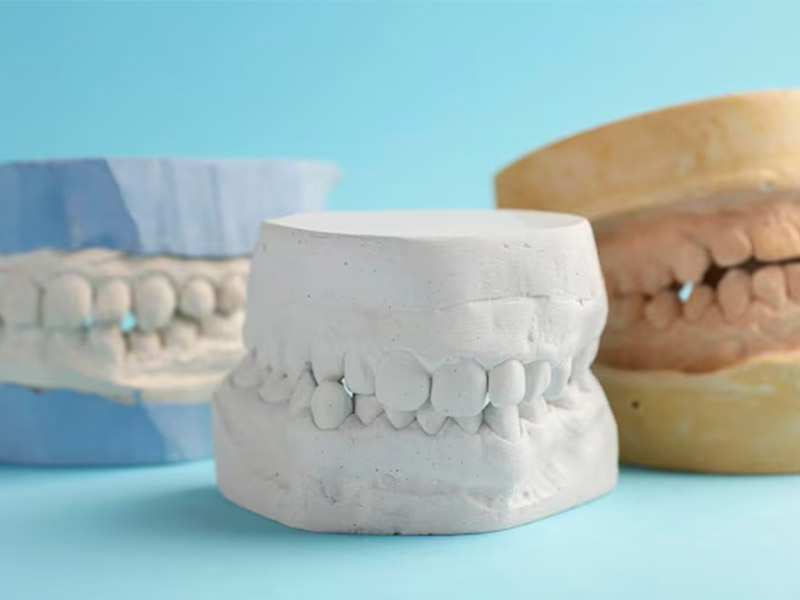
These impressions are then used to create models of the patient’s mouth. From these models, a lab can make a crown, a bridge, or even a full denture. A good impression captures the full arch of the teeth. Without a solid impression tray, the entire process can fail from the start. A flimsy tray can bend, which will ruin the dental impressions. So, the simple tray is a very important tool for any dentist.
Disposable vs. Stainless Steel: Which Tray Should You Choose?
One of the first choices you’ll make is between a disposable tray and a reusable one. Disposable trays are often made from plastic. They are meant for single-use, which is great for infection control. You use the tray once and then throw it away. This makes them easy and convenient. Many dental offices prefer a disposable tray because it saves the time and cost of cleaning.
On the other hand, you have stainless steel trays. These are reusable trays that can be sterilized and reused. A good stainless steel tray is very rigid and strong. This means it is less likely to bend or break. After each use, these trays can be sterilized in an autoclave. While they cost more at first, they can be more cost-effective over time if you take care of them. Although plateaux en plastique may seem cheaper, a quality stainless steel tray is a good investment. These trays are made from different materials, so you have to choose between plastic and metal. A metal tray offers great stability.
How Does Your Tray Choice Affect Accurate Dental Impressions?
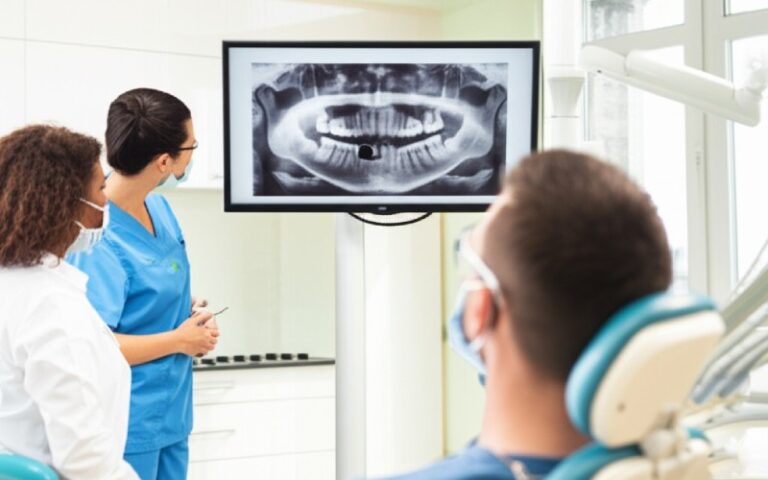
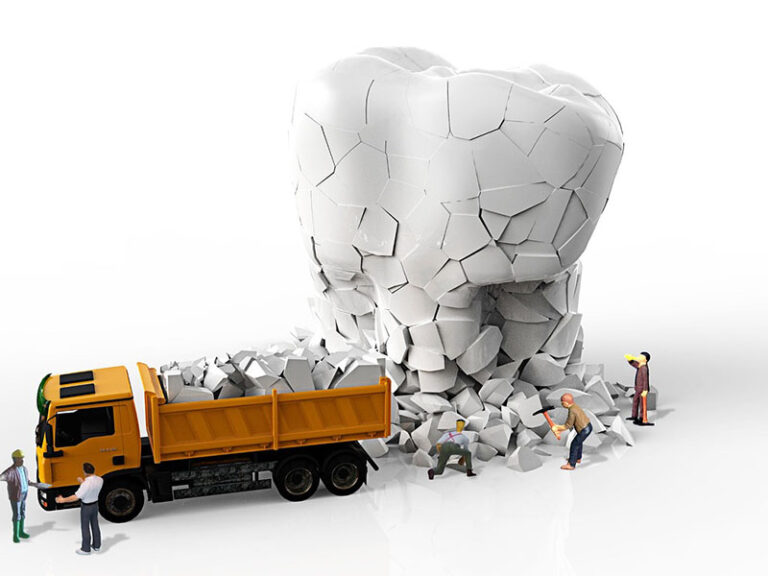
The type of tray you select has a big impact on the final result. The goal is to get accurate dental impressions. A cheap or weak impression tray can cause big problems. The main enemy here is distortion. If the tray bends even a little when you take it out of the patient’s mouth, the impression will be wrong. This leads to a poorly fitting restoration.
A lab calls to say the crown doesn’t fit, and it’s often because the original impression was taken with a flimsy plastic tray. Sturdy metal trays or high-quality rigid plastic trays prevent this kind of distortion. When you choose the right tray, you get accurate impressions with precise details. This makes the lab’s job easier and improves patient satisfaction. A high-quality impression tray is necessary for a high-quality restoration.
Does the Impression Material Influence Your Tray Choice?
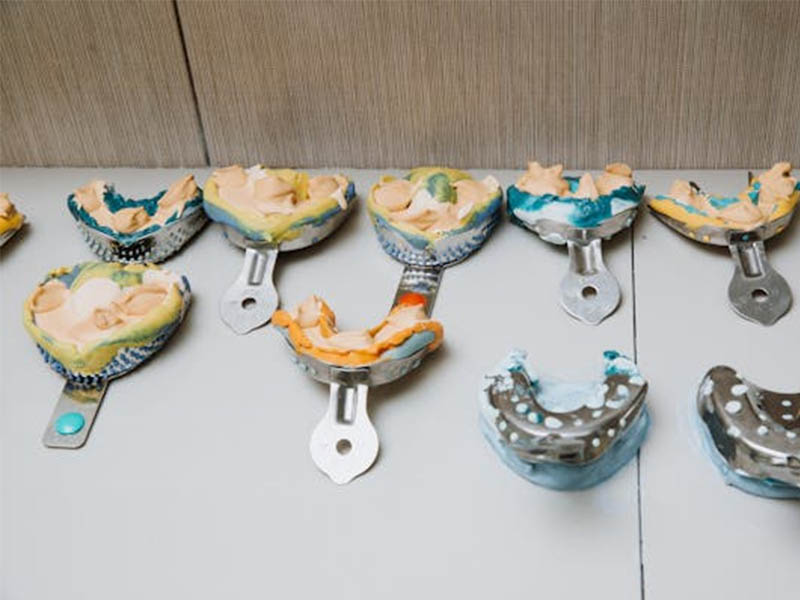
Yes, absolutely. The impression material you plan to use helps you decide on the right dental impression tray. For example, if you are using alginate, you will often use a perforated tray. The holes in the tray help lock the alginate in place so it doesn’t pull away. This makes for a better impression.
For materials like silicone, polyether, or polyvinyl, you might use a different type of tray. These materials often work well with a rigid, non-perforated tray and a tray adhesive. The viscosity, or thickness, of the impression material also matters. A very heavy material needs a strong tray to support it. The wrong impression tray can lead to problems like a void or a bubble in the final model. Always make sure the tray and the impression material you choose work well together. You need enough impression material to fill the tray correctly.
How Do You Find the Perfect Tray Size?
Finding the right size is critical. A tray that is too small will miss teeth or gum tissue. A tray that is too large will be uncomfortable for the patient and can make them gag. The size of the tray should be big enough to cover the entire dental arch. It needs to cover all teeth, including the last molars in the posterior area. The tray should also have enough room for the impression material to flow around the teeth and surrounding tissues.
Before you load the impression tray, you should try it in the patient’s mouth. This is called testing the tray. The tray should fit comfortably without pinching or pressing on the gums. You should check both the upper and lower arches if you are taking impressions for both. There are also special pediatric trays for children, which are much smaller. Taking a moment to find the correct tray size prevents a lot of problems and reduces the patient’s desire to gag. You need a tray that covers all of the dental structures you want to capture.
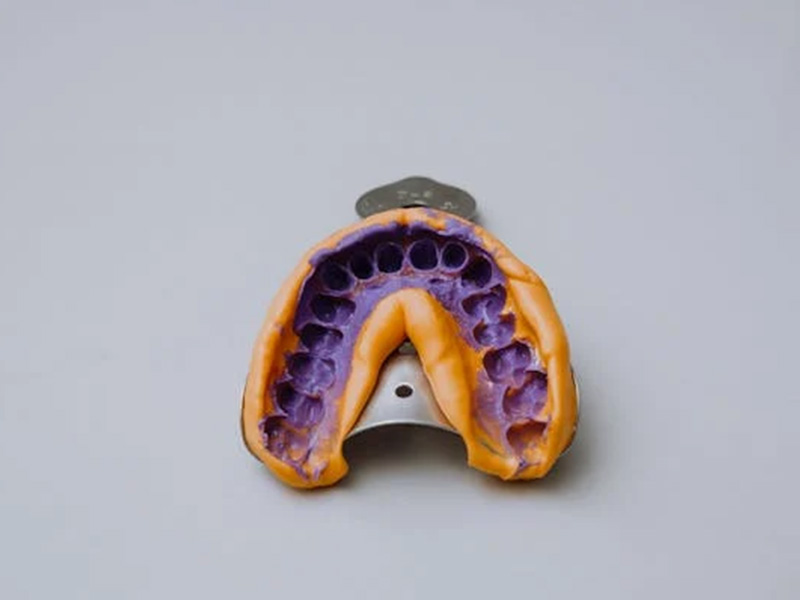
Are Perforated Trays Better for Holding Impression Material?
The answer depends on your material. Trays that perforate, or have holes, are excellent for materials like alginate. The holes act as a mechanical lock. As the impression material flows into the holes and sets, it gets locked into the tray. This prevents the material from separating from the tray when you remove it.
When the tray holds the impression material securely, you reduce the risk of distortion. This helps to ensure the impression is accurate. Trays that perforate are very commonly used for making study models or impressions for a denture. For some other materials, you might not need a tray that can perforate. Instead, you can paint an adhesive inside a smooth tray. But for mechanical retention, a tray with holes is a great choice.
When Do You Need a Specialty Impression Tray?
Not all mouths are the same. Sometimes, a standard impression tray just won’t work. This is where a specialty tray comes in. For example, in orthodontics, you need a tray that can capture all the details of the teeth and palate for making braces or retainers. An orthodontics tray often has higher sides to capture more anatomy.
There are other specialty trays too. A pediatric tray is small and designed for a child’s mouth to prevent a strong gag reflex. There are also trays for patients who are missing all their teeth. These are used to make a new denture. You can find a quadrant tray for taking an impression of just one part of the mouth, or a tray for a single implant. Knowing when to use a specialty impression tray is key for certain dental procedures. You might need a specific tray for the upper or lower jaw, especially for a complex bridge. A specialty tray is designed for a specific job on the lower jaw or upper arch.
What About Custom Trays for a Crown or Implant?
For the most accurate results, especially for a complex restoration like a multi-unit bridge or implants dentaires, nothing beats custom trays. A custom tray is made just for one patient. First, you take a basic impression using a stock tray. Then, a lab uses that model to manufacture a special tray out of acrylic or another plastic.
This custom impression tray fits the patient’s mouth perfectly. It leaves just the right amount of space for the impression material. This gives you the best dental impression possible. Custom trays are always recommended for a big case like a full mouth restoration or for patients who have dental implants. The fit of the final crown or implant will be much better. Using a custom tray shows a high level of care.
How Can You Avoid Problems like Gagging, Voids, or Bubbles?
Even with the perfect tray, things can go wrong. A common issue is the patient’s gag reflex. To help with this, choose the right tray size. Don’t overfill the tray with impression material. Talk to the patient and have them breathe through their nose. Tilting their head forward can also help. A poor impression taking technique can cause a void or a bubble. These are spots where the material didn’t capture the tooth surface.
To avoid this, make sure the impression material flows evenly. Sometimes, using a syringe to place material around the teeth before seating the impression tray helps. For impressions around a crown prep or cavity, good gingival retraction is key. This gently moves the gums away so the impression material can capture the edges of the tooth. Taking these small steps improves patient satisfaction and makes sure you capture all the important dental pieces. A strong gag reflex can ruin an otherwise perfect attempt.
How Should You Care for a Stainless Steel Reusable Tray?
If you invest in stainless steel trays, you need to care for them. These reusable trays can last for years if you treat them right. The most important step is cleaning and sterilization. After each use, remove all of the old impression material. Then, the tray must be put in an autoclave to be sterilized and reused.
Proper care prevents cross-contamination and keeps the tray in good shape. Never use a harsh tool to scrape the tray, as this can scratch it. Be careful not to bend the tray. A bent stainless steel tray will cause distortion just like a flimsy plastic one. Always follow the manufacturer’s instructions for cleaning. When you reuse a tray, inspect it first to make sure it is still rigid and clean. Because these trays can be sterilized, they are a great long-term option when you reuse them properly.