Conseils de pointe pour obtenir une photographie intrabuccale parfaite : Comment prendre des photos intrabuccales et extrabuccales avec votre caméra dentaire
This article will share some personal tips and tricks. You will learn how to master your intraoral camera. These simple steps will help you take clear, bright pictures every time. This will improve your patient communication, increase case acceptance, and make your dental work easier. You don’t want to miss these tips to get the best results.
Table des matières
Why Should I Master the Intraoral Camera?
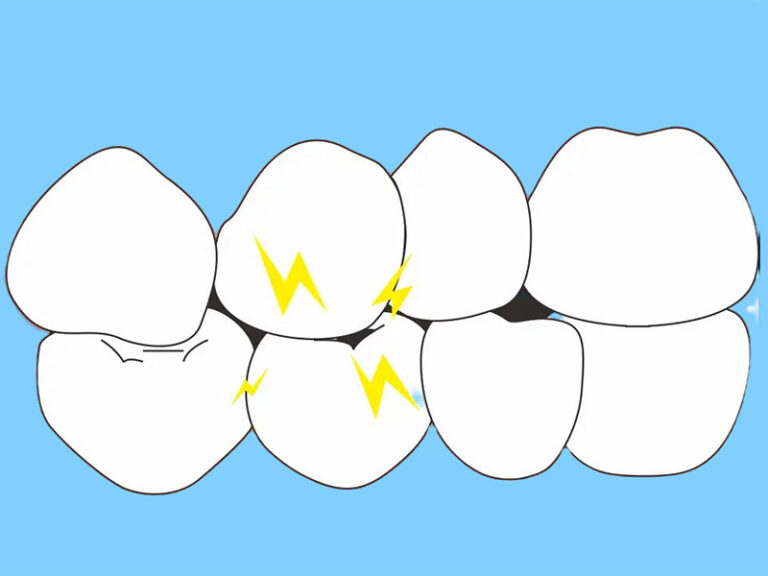
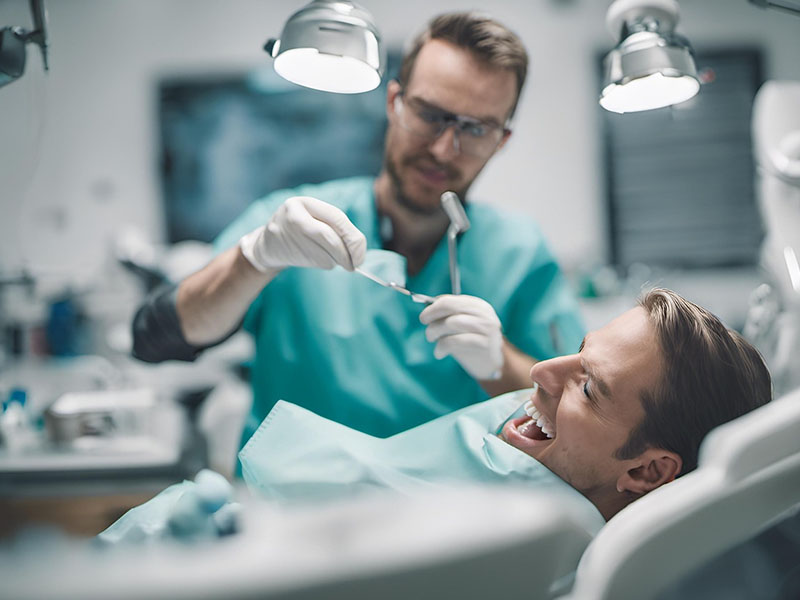
A patient can’t see what you see. But the intraoral camera changed all of that. When you master this dental device, you are no longer just telling a patient they have a problem. You are showing them. A clear image of a cracked filling or a worn-down tooth is more powerful than a thousand words.
The benefit goes beyond just showing problems. A good intraoral photograph helps build patient trust. When patients see the issue for themselves, they understand the need for treatment. It makes the conversation easier. It helps them feel like a partner in their own oral health. This powerful tool is a key piece of modern dentistry today and can truly improve your practice. Proper use of the camera is essential for good communication.
What Is the First Step to Capture a Perfect Intraoral Image?
Before you even put the camera in a patient’s mouth, you must prepare. The very first step is making sure the lens is clean and clear. A blurry image is just a smudge on the lens. Make it a routine to wipe the camera lens before every single use. It takes two seconds but saves so much time and frustration. A clean lens is the foundation for a great picture.
The next step is to manage the environment. You need to control saliva and keep the area dry. Use a little puff of air from the air/water syringe to dry the tooth or gums right before you take the intraoral shot. This stops the light from reflecting off wet surfaces, which can ruin the image. A dry field means you capture every tiny detail of the tooth surface without any glare.
How Can I Use the Intraoral Camera for a Bright, Clear Picture?
The secret to a bright, clear image is stability and focus. You cannot get a sharp photograph if the camera is moving. Try to brace your hand against the patient’s chin or cheek. This creates a stable base. It stops your hand from shaking and prevents a blurry image. Think of it like a photographer using a tripod. Your hand is the tripod for your intraoral camera.
Most modern intraoral cameras have an auto-focus feature, but you still need to help it. Position the camera at the right distance, usually very close to the tooth. Then, wait a split second for the camera to focus before you hit the capture button. If your image is out of focus, you will miss important clinical detail. A sharp, bright image is your goal. Taking a moment to steady your hand and let the camera focus will make all the difference.
What’s the Best Way to Use an Intraoral Camera for More Than One Tooth?
Sometimes you need to show more than just one problem area. You might want to show a whole quadrant or arch. To do this, try to use a “walk the arch” technique. Instead of taking one picture, you should take a series of overlapping intraoral photos. Start at one end of the arch and take a picture of two to three teeth at a time, moving the camera slightly for each shot.
This creates a full story for the patient. They can see how one problem tooth relates to the others around it. When you show a full arch view, it can help a patient understand a more complex treatment plan. It is a great way to educate them about their overall oral health, not just one small issue.
How Do I Capture Great Images of Difficult Posterior Teeth?
Ah, the back of the mouth. This is where many dental professionals struggle. It’s dark, hard to reach, and patients often have a strong gag reflex. The best tip for this is to use a mirror. A good quality dental mirror can help you get an indirect view of the posterior teeth. You take a picture of the reflection in the mirror instead of trying to twist the camera into an impossible position.
For patient comfort, you may work quickly and explain what you’re doing. You might say, “I’m just going to get a quick picture of this back tooth. It will only take a second.” A little bit of patient coaching goes a long way. Making sure the patient is comfortable is key to getting a good image of these problem areas. The right technique makes even the most difficult shot a simple part of your routine.
What’s the Difference Between Intraoral and Extraoral Photography?
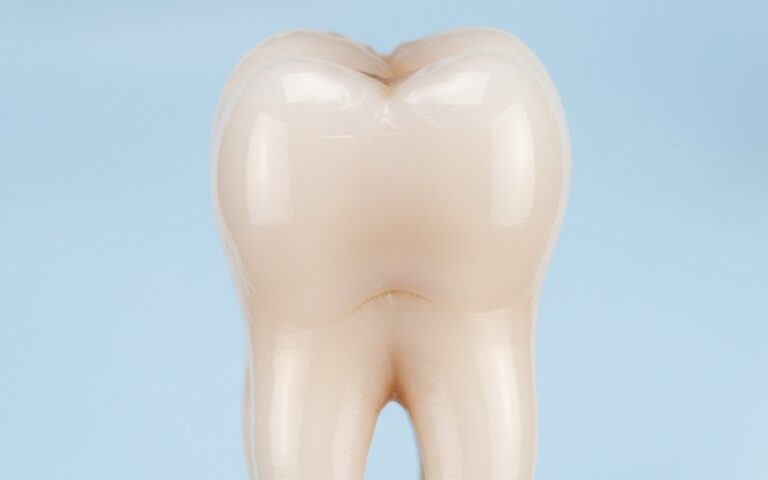
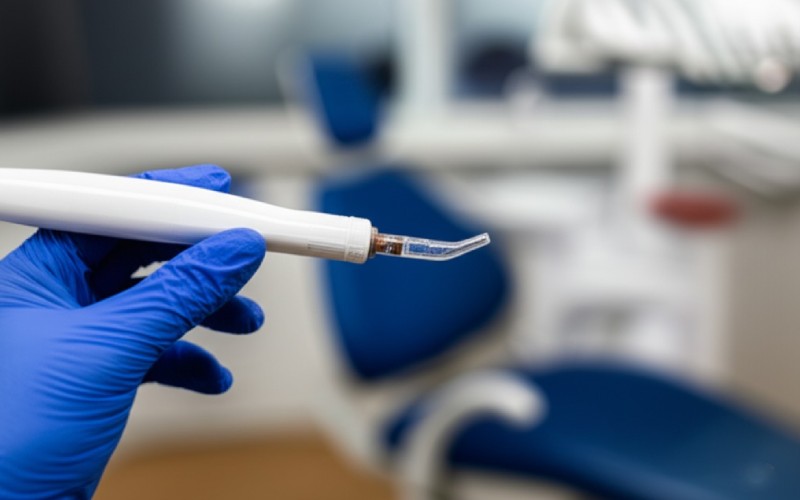
The names say it all. Intraoral photography is for taking pictures à l'intérieur the mouth. The intraoral camera is a small, wand-like camera designed to get up close to a single tooth or a small group of teeth. It’s for capturing fine detail, like a crack or decay. These are the images we use most often during an appointment to show a patient what we see.
Extraoral photography, on the other hand, is for taking pictures outside the mouth. This usually involves a bigger, more traditional camera, like a DSLR. We use extraoral photos to capture a patient’s full smile, their profile, or their bite. This type of photography is very important for cosmetic cases, orthodontics, or large implant reconstructions. Both intraoral and extraoral images are vital for complete dental documentation and treatment planning. You need both to tell the whole story.
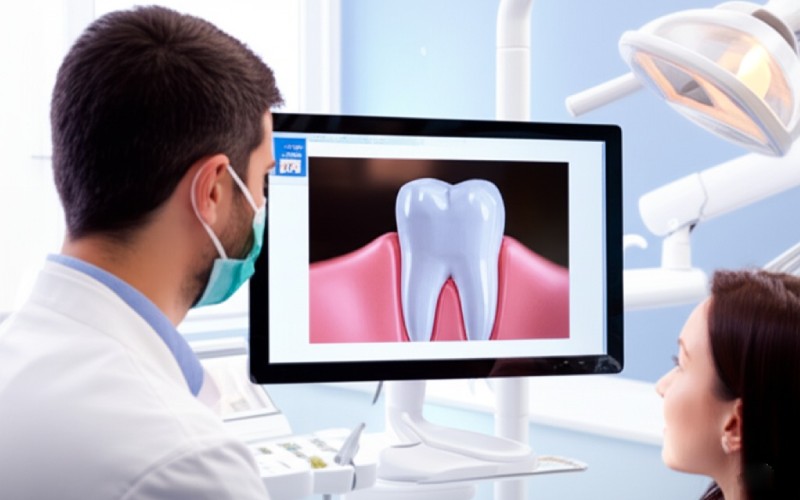
How Do Clear Intraoral Images Boost Patient Case Acceptance?
This is where the magic really happens. A clear image can dramatically improve case acceptance. When patients visualize their own dental problems, they understand the urgency. They move from “I’ll think about it” to “What do we need to do?” An accurate, detailed picture makes the problem real. It removes doubt and builds a strong foundation for patient trust. This simple act of showing, not just telling, is the single biggest factor in boosting acceptance for a needed procedure. This is a huge benefit for any dentist.
What is a Good Clinical Workflow to Use the Intraoral Camera?
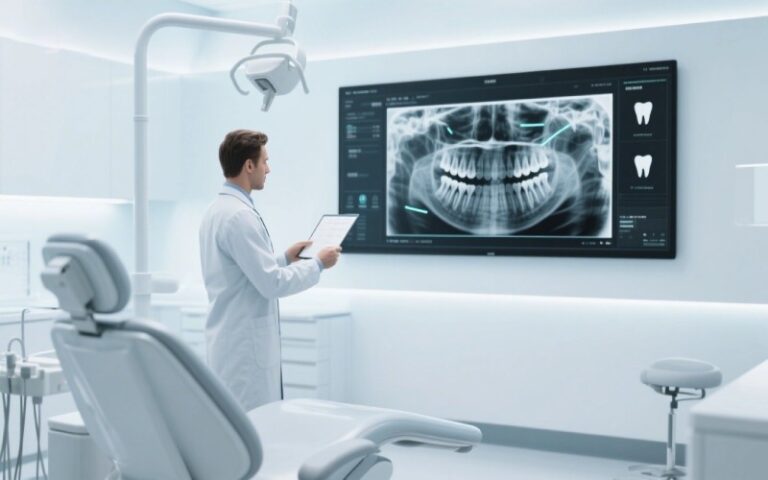
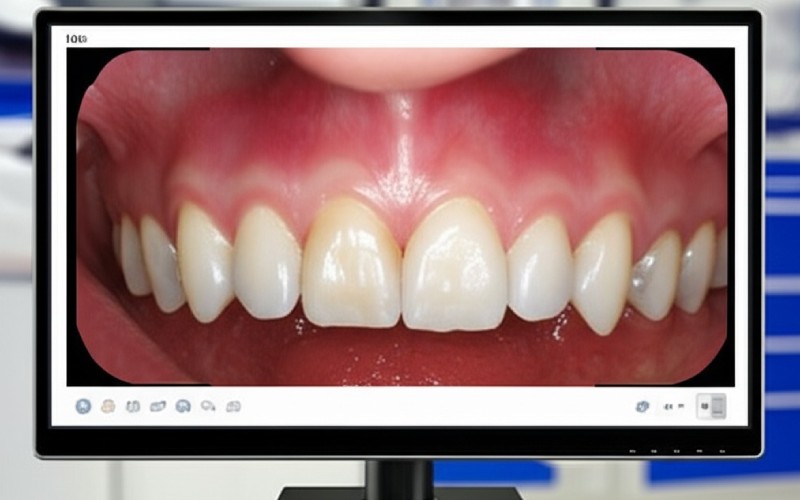
Having a system is everything. A smooth workflow makes using the camera a painless and normal part of every dental appointment. The hygiene team starts the process. During the cleaning, they take a full set of intraoral images. They capture every quadrant, just as a part of their standard data gathering. This way, the images are ready for you before you even sit down.
When you come in for the exam, you can pull up the images and review them with the patient. If you see something new, you can quickly use the intraoral camera yourself to get another shot. This routine makes the whole process efficient. The patient expects it, the team knows what to do, and we never miss an opportunity to educate and inform our patient. This workflow ensures that photography is part-t of our standard of care.
Are There Advanced Camera Settings I Need to Know?
Most of the time, the automatic settings on a good intraoral camera work just fine. But sometimes, you need a little more control. Two settings to know about are macro mode and depth of field. Macro mode is for taking extreme close-ups. It’s perfect for showing very fine details, like the margin of a crown or a hairline fracture. This level of detail is amazing for documentation and for showing a patient exactly what’s going on.
Depth of field refers to how much of the image is in focus, from front to back. A larger depth of field means more of the image is sharp. Some advanced cameras, like a Sirona camera, allow you to adjust this. For a single tooth, a shallow depth can make the subject stand out. For showing a full arch, you want a greater depth of field so all the teeth are in focus. Learning these settings can take your intraoral photography to the next level.
How Can I Use My Sirona Camera to Document an Implant Case?
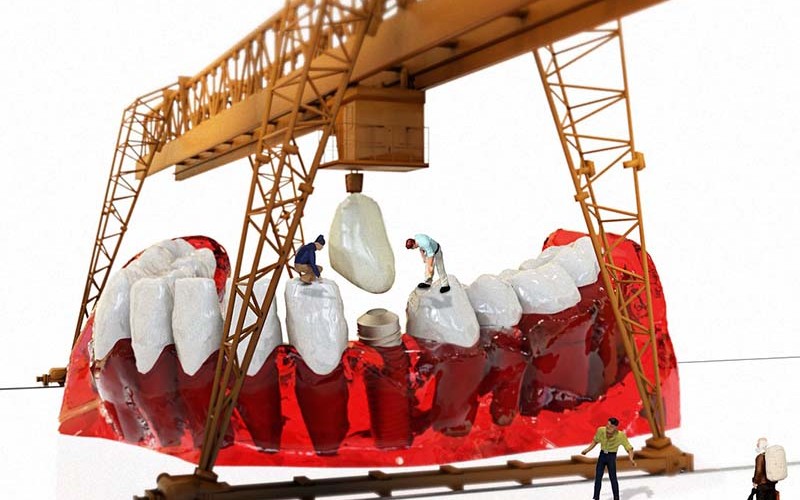
Documenting an implant case from start to finish is so important. A camera like the Sirona intraoral camera is perfect for this. First, take a picture of the empty space before the procedure. Then, capture images after the implant is placed and during the healing process. This allows you to monitor the tissue and ensure everything is going well.
Finally, take a beautiful “after” shot of the final crown on the implant. This series of photos creates a powerful visual record. It’s great for the patient’s file and for showing the patient the amazing transformation. It also helps when you discuss future treatment options with them. This step-by-step documentation provides proof of a successful treatment and showcases the quality of your dental work. The accuracy of these images is vital.