How Do Dentists Do Bone Grafts?
A Calm, Step-by-Step Guide for Real People
If your dentist has mentioned a “bone graft”, your first thought was probably something like: “Wait… they’re doing what to my jaw?”
You’re not alone. Dental bone grafting sounds intense, but for dentists and oral surgeons it’s a routine, carefully planned procedure to rebuild lost bone so your teeth and implants have a solid foundation.
- In this guide, you’ll learn:
- What a dental bone graft actually is (in normal language)
- Why your dentist might recommend it
- The different types of grafts (and what they’re made of)
- Exactly what happens before, during, and after the procedure
- How healing feels day-by-day, and what’s normal vs not
- Questions to ask your dentist so you feel in control
Table of Contents
1. What Exactly Is a Dental Bone Graft?
A dental bone graft is a procedure where a dentist or oral surgeon places special bone-like material in an area of your jaw that has thinned or shrunk. Over time, your body grows new bone into and around this material, thickening and strengthening the area again.
Think of it less like “adding spare parts” and more like building a scaffold so your own bone can regrow. The graft material is there to guide and support healing, not to permanently act as the bone itself.
Bone grafts are most often used to:
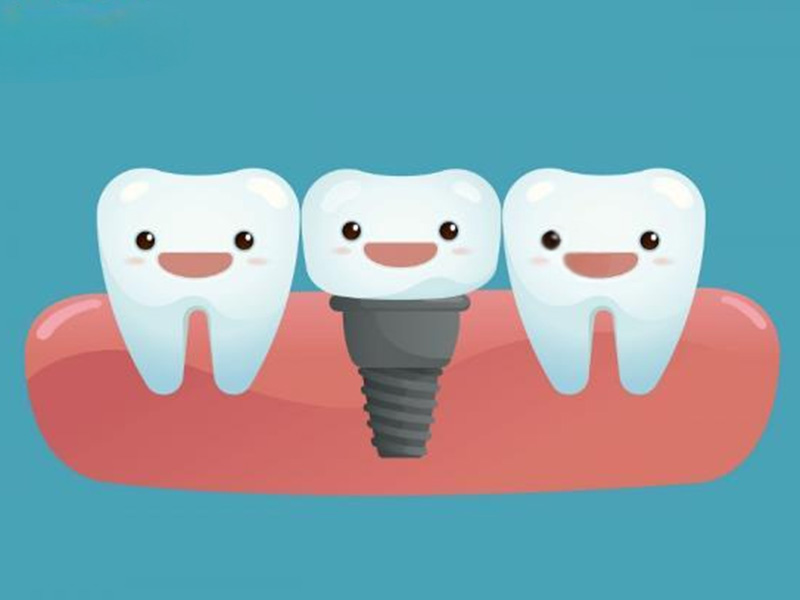
- Prepare your jaw for dental implants if the bone is too thin or soft
- Repair bone loss from gum disease (periodontitis)
- Rebuild areas after tooth extraction, injury, or infection
- Clues you might need a bone graft include:
- Your dentist says your bone is “too thin” or “too soft” on an X-ray or 3D scan
- Teeth have become loose because of bone loss
- You’ve been missing a tooth for a long time and the jawbone has shrunk
- You’re planning implants but were told there’s “not enough bone” to support them
2. Types of Dental Bone Grafts (Without the Jargon Overload)
There’s not just one type of bone graft. Dentists choose from several options based on your health, how much bone you’ve lost, and how complex the case is. Common sources include your own bone, donated bone, animal bone, or synthetic materials.
Here’s a simple comparison:
| Type of Graft | Where It Comes From | Common Uses | Pros | Things to Consider |
|---|---|---|---|---|
| Autograft | Your own bone (often jaw or hip) | Larger defects, complex implant cases | Excellent compatibility; high success; zero risk of disease transmission | Second surgical site (more healing, more soreness) |
| Allograft | Human donor bone from a tissue bank | Many routine dental grafts | No second surgery site for you; widely used; processed and sterilized | Very small theoretical infection/immune risk (heavily screened and treated) |
| Xenograft | Animal bone (commonly bovine) | Often used around implants or extraction sites | Provides strong scaffold; good long-term stability | Some material may remain long-term; not ideal if you’re uncomfortable with animal products |
| Alloplast | Synthetic materials (e.g., calcium phosphate) | Small to medium defects; sometimes combined with other grafts | No human/animal tissue; customizable | May integrate more slowly; not always ideal for very large defects |
Dentists may also add growth factors or special membranes to encourage your body to grow bone more predictably and to protect the graft while it heals.
- Smart questions to ask about graft material:
- “What type of bone graft will you use and why?”
- “Is it from my body, a donor, an animal, or synthetic?”
- “Are there alternatives that might suit my health or preferences better?”
- “Roughly how long does this type of graft usually take to heal?”
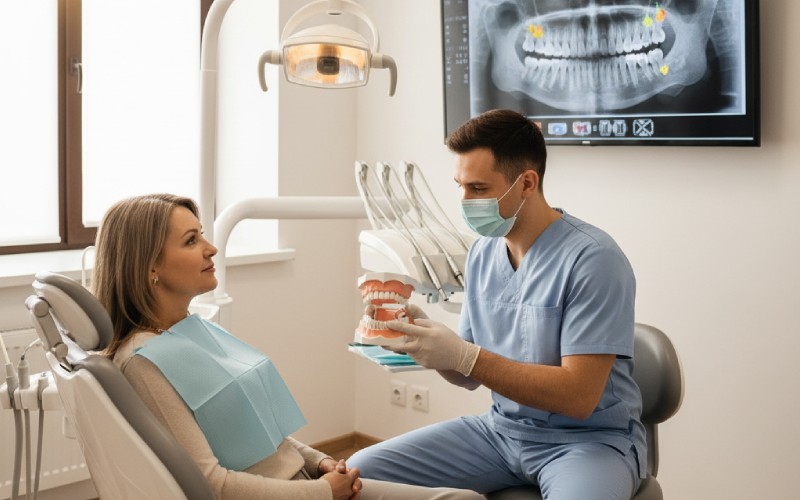
3. Before the Procedure: How Your Dentist Decides You Need a Graft
Before anyone touches your jawbone, there’s a lot of planning.
Your dentist or specialist will usually:
- Take a thorough medical history – including medications, smoking, diabetes, osteoporosis, blood thinners, and previous surgeries.
- Do a detailed exam of your teeth and gums.
- Order imaging – often a 3D cone beam CT scan – to measure your bone thickness and height with millimetre precision.
- Decide whether a graft is needed and what type will work best.
This planning stage is where your treatment becomes very personalised. Someone who needs a small “socket graft” right after a tooth extraction is different from someone who has had dentures for 20 years and needs major reconstruction for multiple implants.
- You may be asked to:
- Pause or adjust certain medications (especially blood thinners), under guidance from your doctor.
- Stop smoking or vaping – nicotine significantly slows healing and increases complications.
- Fast for a certain period if you’re having IV sedation or general anaesthesia.
- Arrange someone to drive you home if sedation is used.
- Prepare a “recovery corner” at home with soft foods, medications, and extra pillows.
4. So… How Do Dentists Actually Do a Bone Graft?
Let’s walk through the typical bone graft procedure from your point of view. There are variations, but the core steps are surprisingly similar across most clinics.
4.1 Numbing and Getting You Comfortable
First, they make sure you’re comfortable and pain-free:
- The area is numbed with local anaesthetic (the same kind you get for fillings, just more focused).
- If you’re very anxious or it’s a long procedure, they might add oral sedation or IV sedation so you’re deeply relaxed or drowsy.
You might feel your face go heavy or tingly, but you shouldn’t feel sharp pain. If you do, you can raise a hand and they can add more anaesthetic.
- Common feelings at this stage:
- Nervousness (totally normal)
- Numbness spreading across your lip, cheek, or tongue
- The team talking you through each step if you’d like to know what’s happening
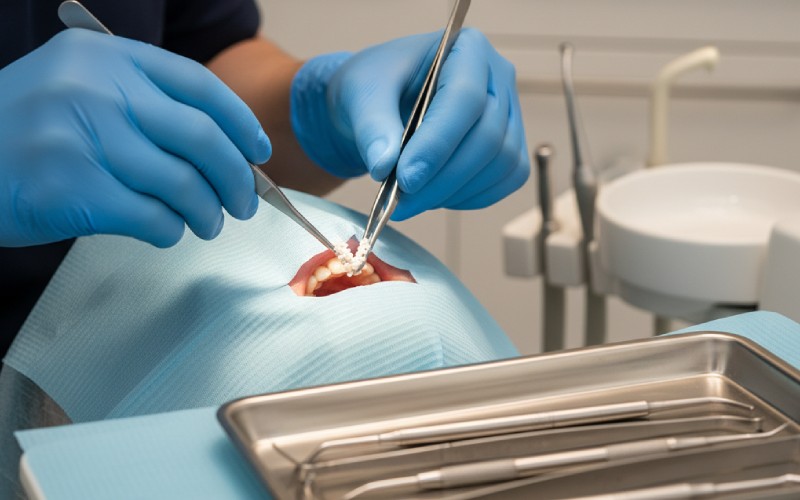
4.2 Accessing the Bone
Once you’re numb:
Your dentist makes a small incision in the gum over the area that needs more bone, then gently lifts the gum tissue to expose the underlying jawbone.
They then:
- Clean and disinfect the area
- Remove any inflamed tissue, old infection, or damaged bone fragments
This is like preparing the soil before planting a seed – the cleaner and more stable the base, the better the result.
- If you’re awake, you may notice:
- Pressure and gentle pulling (from the gum being lifted)
- Some vibration if they smooth or shape the bone
- Sounds of suction or instruments, but not pain
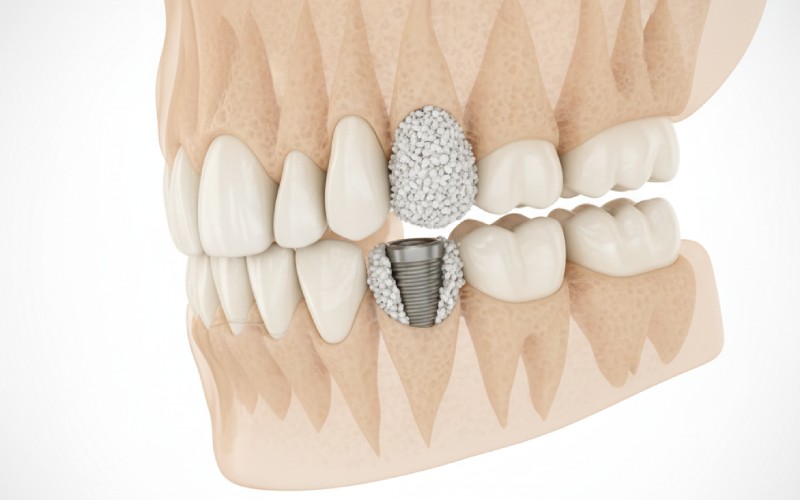
4.3 Placing the Bone Graft
Now comes the key part: placing the graft material.
Depending on your specific case, your dentist may:
- Fill an empty extraction socket right after removing a tooth (socket graft).
- Add bone along a thin ridge where an implant will go later.
- Lift the sinus floor and place bone underneath (sinus lift) in the upper back jaw.
The graft material is gently packed or shaped into place, sometimes secured with a tiny membrane, net, or screws so it stays exactly where it needs to be while your body heals.
- From the chair, this usually feels like:
- Pressure, tapping, or packing sensation
- Occasional vibrations
- Lots of rinsing and suction, but still no sharp pain if the area is properly numbed
4.4 Closing and Stitching
Finally, the dentist repositions the gum tissue over (or around) the graft, then stitches it closed with dissolvable or removable sutures.
They’ll usually place a small gauze pad for you to bite on, give you instructions, and make sure you’re feeling stable before you leave.
In many cases, the entire procedure can be done in a single visit, especially for smaller grafts. Larger reconstructions can take longer and may be done in stages.
- Before you go home, expect to:
- Get instructions on pain relief and antibiotics (if needed)
- Be told when and how to brush and rinse safely
- Schedule your follow-up and, if applicable, talk about the timing for implants
5. Healing: What Happens After a Dental Bone Graft?
Healing after a bone graft isn’t just “waiting for it to feel better.” There’s a whole biological storyline unfolding under the gums.
Research and clinical guides describe several overlapping phases: initial inflammation, new blood vessel growth, bone formation (osteogenesis), then slow remodelling as your body replaces the graft material with your own living bone.
Here’s a rough timeline (this is general – your dentist will give personalised expectations):
| Timeframe | What Your Body Is Doing | What You Might Feel / Notice | Dentist’s Goal |
|---|---|---|---|
| Day 0–3 | Blood clot forms; inflammation starts; early healing kicks in | Swelling, mild-moderate soreness, small oozing of blood, bruising on cheek or jaw | Protect the clot, control bleeding and pain |
| Days 4–7 | New blood vessels grow into graft; early tissue repair | Swelling usually peaks then starts to go down; discomfort manageable with meds; stitches visible | Keep area clean, avoid disturbing graft |
| Weeks 2–4 | Soft tissue healing; beginning of early bone formation | Soreness mostly gone; you may forget about it except when eating or touching area | Monitor for infection; ensure gums are healing well |
| Months 2–4 | Bone gradually replaces graft; structure strengthens | Usually no pain; you won’t “feel” bone growing | Check X-rays/scans; plan implant timing |
| Months 4–9+ | Ongoing bone remodelling and maturation | Feels normal day-to-day | Confirm solid bone for implants or final restorations |
Full healing of the bone itself can take several months up to a year, depending on the graft size, material used, and your health.
- Red-flag symptoms – contact your dentist or surgeon urgently if you notice:
- Worsening pain or swelling after the first few days instead of gradual improvement
- Pus, foul smell, or bad taste that doesn’t go away
- Fever or feeling generally very unwell
- Graft particles or material continuously coming out in large amounts
- Numbness that doesn’t improve, especially in the lip, chin, or tongue
5.1 Typical Aftercare Instructions (The “Don’t Mess With the Graft” Phase)
Clinics and oral surgery centres around the world give similar core instructions: protect the site, keep it clean, and be gentle.
Your dentist’s exact advice always comes first, but generally you can expect guidance such as:
- For the first 24 hours:
- Don’t rinse vigorously or spit forcefully – it can dislodge the clot.
- Use gauze as instructed to control bleeding.
- Stick to a soft or liquid diet; avoid chewing on the graft side.
- After the first day or so:
- Start gentle rinsing with prescribed mouthwash or saltwater.
- Brush other teeth normally, but avoid the graft site initially.
- Slowly add in soft foods (mashed potatoes, eggs, soups – not chips or nuts).
- For at least a week (often longer):
- No smoking or vaping – it seriously harms healing.
- No drinking through a straw (the suction can dislodge clots).
- Avoid poking the area with your tongue or fingers, and don’t pull your lip to “check the stitches.”
- Big-picture goal: you’re protecting the graft like a fresh seedling. The less you disturb it, the better chance it has to grow into strong, healthy bone.
6. Risks, Safety, and How Dentists Keep Things Low-Risk
No surgery is completely risk-free, and bone grafting is no exception. Patient information leaflets from major hospitals and clinics list possible complications such as: infection, graft failure (the bone doesn’t integrate properly), sinus issues (for sinus lifts), nerve irritation, prolonged numbness, or rare reactions to materials.
That said, when done by an experienced clinician with proper planning, dental bone grafts are generally very safe and have high success rates, especially in healthy non-smokers.
- Factors that increase risk include:
- Smoking or vaping (major impact on blood flow and healing)
- Uncontrolled diabetes or other systemic conditions
- Poor oral hygiene before and after the procedure
- Not following post-operative instructions (rinsing too hard, chewing on the graft, etc.)
- Very large or complex grafts, or compromised blood supply to the area
Dentists work hard to minimize these risks by:
- Screening your medical history and liaising with your physician if needed
- Choosing the least invasive type of graft that will still work
- Using sterile technique and sometimes preventive antibiotics
- Giving you detailed aftercare instructions and follow-up appointments to catch issues early
If you’re worried, it is absolutely okay to say: “Can we talk frankly about the risks and your experience with this procedure?”
A good dentist will welcome that conversation.
7. Preparing Emotionally and Practically
The technical stuff is only half the story. The other half is you – the person in the chair.
It’s normal to feel anxious about “bone surgery,” even if logically you know it’s routine. Taking a bit of time to prepare can make a big difference in how calm and in-control you feel.
- Night-before & day-of checklist:
- Confirm any fasting instructions (if you’re having sedation).
- Lay out comfy, loose clothing; avoid heavy makeup or lipstick.
- Set up your “recovery zone”: extra pillows, water, tissues, TV remote, chargers.
- Stock up on soft foods: yogurt, smoothies (no straws), soups, scrambled eggs, porridge.
- Arrange a ride home if you’re having sedation or don’t feel up to driving.
- Write down any last-minute questions so you don’t forget them when you’re nervous.
8. Questions to Ask Your Dentist (So You Feel Truly Involved)
Think of your bone graft as a team project between you and your dentist. These questions can help you feel informed, not just “done to”:
- “Exactly why do I need a bone graft – what problem are we fixing?”
- “What type of graft material will you use? Why this one instead of others?”
- “Roughly how long will the procedure and the healing take in my case?”
- “When do you expect I’ll be ready for an implant (if I’m having one)?”
- “What are the most important do’s and don’ts after surgery?”
- “What complications should I watch for, and how do I reach you if something feels wrong?”
- “How many bone grafts like this do you perform in a typical month or year?”
The more specific the answers, the more confident you’ll feel.
9. Quick FAQ: Short, Honest Answers
Will I be in pain during the bone graft? You shouldn’t feel sharp pain because the area is numbed and, if needed, you’re sedated. You will feel pressure, vibration, and movement. Mild to moderate soreness after the procedure is normal and usually manageable with prescribed or over-the-counter pain relief.
How long until I can get my implant? For many people, implants are placed 3–6 months after grafting, but this can be shorter or longer depending on graft size, material, and your healing. Your dentist will use X-rays or scans to decide when the bone is ready.
Will people know I had surgery? You may have swelling or bruising on the face for a few days to a week. Most people can return to work (not heavy physical labour) within a couple of days, depending on how they feel and whether sedation was used.
Can bone grafts fail? Yes, but it’s not common. Failure usually means the graft didn’t integrate properly or got infected, and your dentist will notice this on follow-ups. Sometimes a failed graft can be redone once the area has healed.
Final Thought
A dental bone graft can sound scary on paper, but in real life it’s a carefully controlled, step-by-step process your dentist has likely done many, many times before.
Your job is not to become an oral surgeon overnight – it’s to:
- Understand the basics
- Ask clear questions
- Follow the aftercare instructions as if they’re part of the treatment (because they are)
And of course, this guide is for education, not a substitute for personalised advice. Always lean on your own dentist or specialist for recommendations based on your health, your scans, and your goals.