
How to Use the VITA Classical Shade Guide to Match Your Dental Composite Perfectly
In cosmetic dentistry, getting a perfect color match between a dental composite and a patient’s own teeth is very important. A smooth, invisible repair is the main goal, but picking a shade can be tricky and based on personal opinion. This article is a complete guide on how to use the VITA Classical Shade Guide, a top tool in dentistry, to make sure your composite repairs are always invisible and look great. You will learn the basics of color in dentistry and also get advanced clinical tips to handle common problems, from lighting issues to the natural properties of composite materials. Learning this process will improve the quality of your repair work and make patients happier.
Table of Contents
What is the VITA Classical Shade Guide and How is it Set Up?
The VITA Classical Shade Guide is the main tool used in dentistry to correctly identify tooth shade. For many years, it has been a standard guide for choosing the right shade for dental work and repairs, including dental composite. The guide has 16 shades, known as the VITA shades, which are put into four main groups based on hue (the color itself). Understanding how it is set up is the first step to picking a good shade. The VITA Classic system makes the wide range of natural tooth colors easier to work with and understand everywhere, making it an essential part of any dental office that focuses on appearance.
The 16 shades in the VITA Classical A1-D4 family of shades are arranged like this:
- Group A (Reddish-Brownish): A1, A2, A3, A3.5, A4
- Group B (Reddish-Yellowish): B1, B2, B3, B4
- Group C (Greyish): C1, C2, C3, C4
- Group D (Reddish-Grey): D2, D3, D4
In each hue group, the number shows the chroma, which is the strength or richness of the color. A lower number like A1 means a lower chroma (a less strong shade), while a higher number like A4 means a higher chroma. Brightness, or value, is another key part of color. While the classical shade guide mainly groups by hue and chroma, many dentists find it useful to re-sort the tabs by brightness (from lightest to darkest) to make a better first guess, as the human eye is more sensitive to changes in brightness.
Why is a Good Composite Shade Match So Important for Cosmetic Dentistry?
In today’s dental repair work, patients expect a great appearance more than ever. An invisible composite repair is the standard they want. Getting a perfect color match is not just a small detail; it is the most important part of good cosmetic work. When the shade of the dental composite blends smoothly with the nearby natural teeth, it boosts the patient’s confidence and happiness. On the other hand, even a small, noticeable color difference between the repair and the tooth can make the work look bad, no matter how well the repair functions.
The difficulty comes from the complexity of natural tooth color. A tooth is not just one solid shade. It has many colors, with changes in hue, chroma, and value from the gumline to the biting edge. The success of a composite repair depends on the dentist’s skill in seeing these small differences and picking a composite shade or mix of shades that copies this natural look. A close color match makes sure the final repair is not just a filling but a real piece of art that brings back the tooth’s natural beauty. This careful focus on shade choice is what makes great dentistry stand out.

How Do You Figure Out the Basic Tooth Color?
To find the right tooth color, you need to understand the three parts of color: hue, chroma, and value (or lightness). Hue is the main color, which in the VITA Classic system is the A, B, C, or D group. Chroma is about the richness or strength of that hue, shown by the numbers 1-4. Value is how bright or dark the shade is. The first step is to find the basic hue, which is often easiest to see at the neck of the tooth (by the gum), where the chroma is usually strongest. For example, you first have to decide if the main shade is reddish-brown (A), reddish-yellow (B), grey (C), or reddish-grey (D).
After you find the hue, the next step is to figure out the chroma and value. To pick the chroma, you should compare the middle part of the natural tooth to the matching shade tabs (like A1, A2, A3). It’s a process of finding the best match for color strength. Lastly, check the value or brightness. A useful trick is to squint your eyes while comparing the tooth to the chosen shade tab. This lowers the effect of hue and makes it easier to see differences in lightness or darkness, helping you pick between, for example, a brighter A2 or a slightly darker A3 shade. This step-by-step check of all three color parts is key for a good first shade choice.
What Things in the Clinic Can Affect Shade Choice?
The process of picking a shade is known to be based on opinion and can be affected by many things in the clinic. The lighting in the treatment room is one of the biggest factors. Natural daylight is seen as the best light source for seeing color correctly. If you can, you should pick the shade near a window or with special light bulbs that copy daylight (around 5500-6500K). It’s also smart to check the shade under different lights to avoid the problem where two colors match under one light but not another.
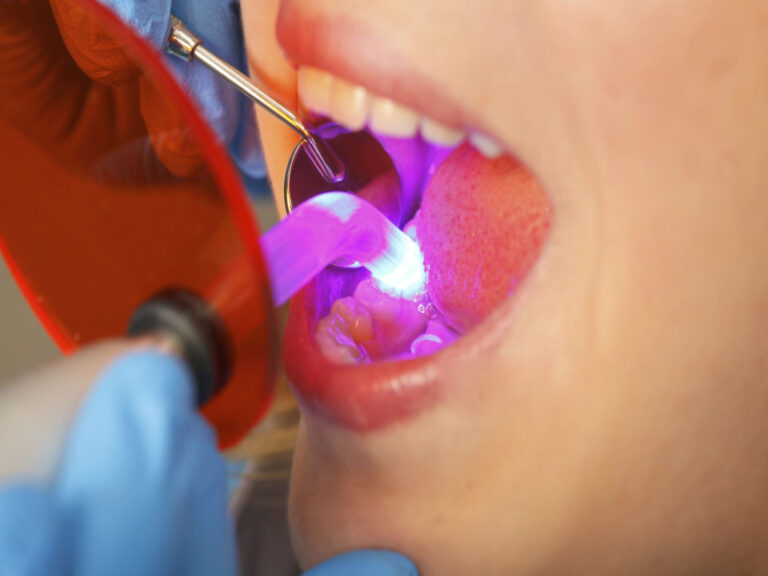
Other things include the area around the patient and the condition of the tooth itself. Bright lipstick, makeup, or even the patient’s clothes can change how you see the tooth shade and should be taken off or covered with a neutral-colored cloth. The background also matters; a white or light blue background is often suggested. Also, a dry tooth can really change how it looks, making it seem whiter and brighter. Because of this, you should always pick the shade at the start of the appointment before the tooth has time to dry. Lastly, eye tiredness is a real problem. Looking at the tooth and shade guide for too long can make it harder to tell shades apart; it’s best to make your choice in quick looks of 5-7 seconds.
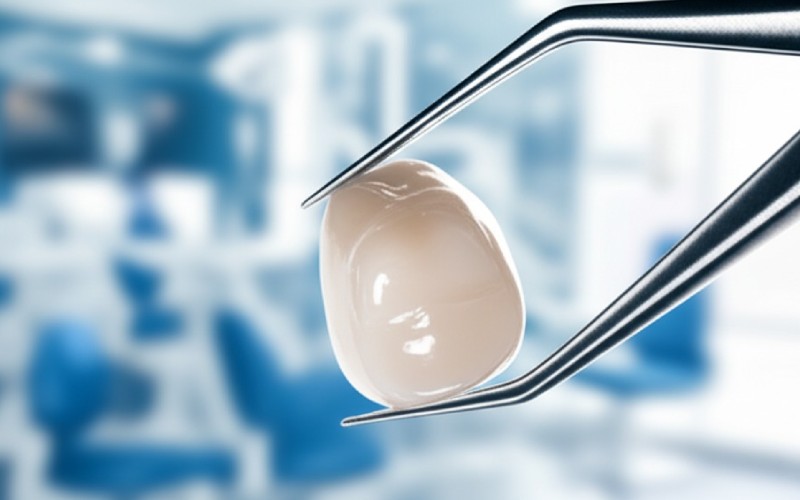
How Do You Pick the Right Composite Repair Material for a Perfect Match?
After you find the right shade with the VITA shade guide, the next step is to pick a dental composite material that can copy it well. Most dental composite brands have a variety of shades that match the VITA classical shade guide, like A1, A2, and so on. But it’s important to know that the final shade of a composite repair is not just about the color pigment. The material’s own light properties, like how much light passes through and the filler makeup, are very important for the final color match.
The makeup of the composite, especially the type and size of the filler bits, can change how the material scatters and bounces light. A composite that lets a lot of light through will allow more of the tooth color underneath to show, which is often called the “chameleon effect.” This quality can be good for small repairs but might be a problem if the tooth structure underneath is dark or stained. The brand of composite also matters, as differences in the resin and filler technology can lead to noticeable changes in the final shade, even between composites with the same VITA shade name (for instance, A2 from two different brands may not look the same). So, it’s a good idea to know the specific quality and makeup of the composite brand you use.
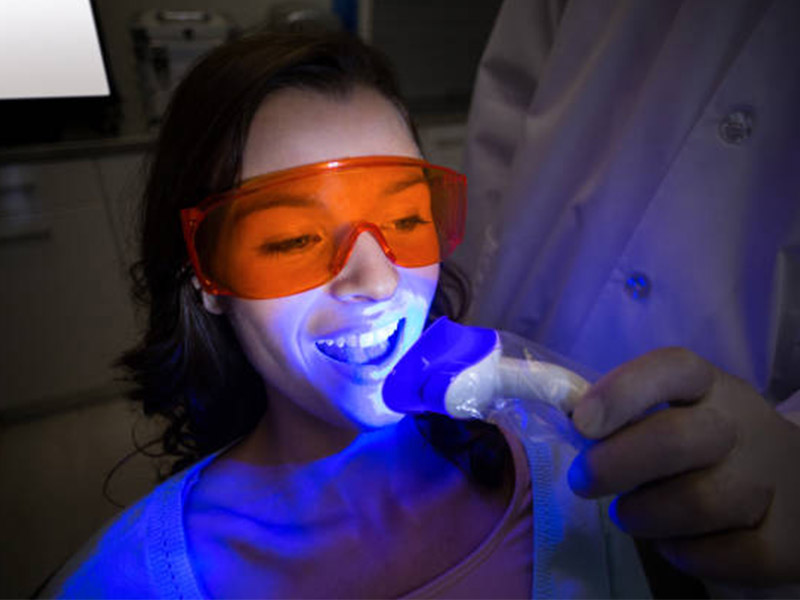
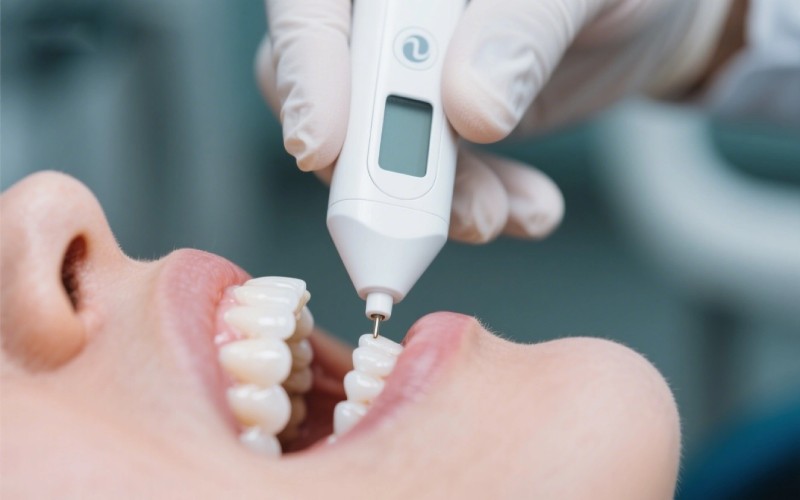
Can a Spectrophotometer like the VITA Easyshade® Help Me Pick Better Shades?
Yes, a digital spectrophotometer like the VITA Easyshade® V can greatly improve how well and how factually you pick your shades. While using a classical shade guide is a good method, it is naturally based on opinion and can be affected by lighting, background, and the user getting tired. A spectrophotometer is a device that measures the color of something by checking the light it bounces back. The VITA Easyshade® device gives an exact and repeatable measurement of the tooth color, taking the guesswork out of the choice process.
The device works by shining a standard light on the tooth surface and measuring the light data that bounces back. It then gives the closest match in both the VITA Classical and VITA 3D-Master shade systems. This digital check gives a trustworthy reference that isn’t affected by outside factors. The VITA Easyshade® can also measure different parts of the tooth (neck, middle, edge), giving the dentist detailed information to make a more natural, multi-colored repair. Using a device like the Easyshade can make your shade-matching faster and consistently correct, especially for difficult cosmetic cases.
How Does Preparing the Tooth Change the Final Composite Shade?
How the tooth is prepared has a direct effect on the final seen shade of the composite repair. The final color comes from light interacting with both the repair material and the tooth structure underneath. The color of the dentin left after preparation will greatly affect the final shade, especially when using a composite that lets more light through. If the dentin left is dark or stained, it can make the final repair look darker or grayer. In these cases, using a less see-through composite or a special liner might be needed to hide the dark color before putting on the final composite shade.
The shape of the preparation also matters. Making a slanted edge on the margin of the preparation is a common way to help blend the composite repair with the natural tooth. A slanted margin makes a slow change from the composite to the enamel, which helps to spread light and remove a sharp, visible line between the repair and the tooth. The thickness of the composite material also has a big effect on its color. A thicker layer of composite will look less see-through and will be less affected by the background color of the tooth. So, during preparation and placement, the dentist must think about how the depth and shape will work with the chosen composite shade to get the desired cosmetic look.
What is the Best Way to Use a Shade Guide in the Clinic?
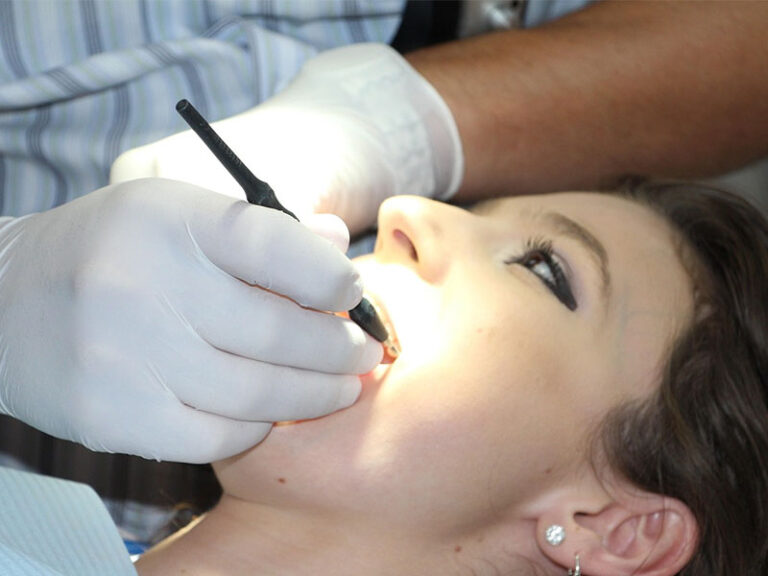
To get the best match using the VITA classical shade guide, a step-by-step clinical method is key. This process is more than just holding the guide next to the tooth. First, make sure you pick the shade in the right lighting and before the tooth gets dry. When comparing the shade tabs to the tooth, hold the guide at arm’s length and look at it from the patient’s eye level. This stops a strange viewing angle from changing what you see.
Here is a step-by-step guide for good visual shade picking:
| Step | Action | Reason |
|---|---|---|
| 1 | Prepare the Area | Remove bright colors (lipstick, etc.) and use a neutral background to stop color changes. |
| 2 | Pick Shade Early | Find the shade before preparing the tooth to avoid mistakes from the tooth drying out. |
| 3 | First Hue Choice | Quickly look at the A, B, C, and D groups to find the general color family of the tooth. Focus on the neck part. |
| 4 | Value/Brightness Check | Re-sort the chosen hue group by brightness (e.g., B1, A1, B2, D2, A2…). Squint your eyes to lessen the hue’s effect and focus on the lightness. |
| 5 | Chroma/Strength Match | Once the value is close, fine-tune the choice by matching the chroma (strength) in the middle part of the tooth. Pick between shades like A2 and A3. |
| 6 | Quick Looks | Make your choice with quick, 5-second looks to prevent eye tiredness and wrong perception. |
| 7 | Check with a Composite Sample | Put a small, soft sample of the chosen composite shade on the tooth (without etching it) and harden it. This is the surest way to check the final shade. |
Does the Color of the Composite Change After it Hardens?
Yes, it is a known fact that the color of a dental composite can change after it is hardened, or cured. This color shift is an important thing to think about when picking a shade. The soft composite paste may not perfectly match the shade of the final, hardened repair. This change can happen for a few reasons, including a change in how the resin and filler bits bend light as they harden. The material often gets a little darker or changes in how much light passes through after it is cured with the light.
How much and in what way this color change happens can be different depending on the specific composite brand, its shade, and its makeup. Some composites might become a bit less see-through, while others might let more light through. Because of this possible color shift, the surest way to confirm a shade choice is to do a direct test. This means putting a small bit of the chosen composite shade right on the patient’s clean tooth (without etching) and hardening it. This hardened sample will show the true final color of the composite repair in the patient’s mouth, allowing for the best possible match and avoiding surprises after the final repair is placed and hardened. This step is very important to get predictable and great-looking results.
How Can You Get a Perfect Color Match with the VITA Guide Every Time?
To always get a perfect color match with the VITA classical shade guide, you must mix a good knowledge of color with a very careful clinical method. It is not one single skill but a combination of several key actions. You must get good at visual checking, knowing how to find hue, chroma, and value one by one. This needs a trained eye that can see the small differences in a natural tooth. The choice process must be disciplined, controlling for things like light and background that can affect what you see.
In the end, the key is to move from a personal guess to a factual, repeatable process. This means always picking your shade at the beginning of the appointment and checking your choice with a hardened composite sample on the tooth. for even more accuracy, adding a digital device like the VITA Easyshade® can give an unbiased reference to confirm or guide your visual check. By knowing the qualities of your chosen dental composite, from its filler makeup to how it hardens, you can correctly guess how the material will look in the final repair. To get a perfect color match is to get control over every factor that can affect the final cosmetic look.
Summary of Key Points to Remember:
- Learn the System: Know that the VITA Classical Shade Guide puts 16 shades into four hue groups (A, B, C, D) and then by chroma (strength).
- Control Your Area: Always pick the shade in neutral, daylight-like light, before the tooth gets dry, and with a neutral background.
- Three Parts of Color: Check the tooth step-by-step for hue (color), chroma (richness), and value (brightness) to make a good choice.
- The Material is Important: Remember that the final shade is affected by the composite’s own qualities, like how much light passes through, filler bits, and brand-specific makeup.
- Hardening Changes Color: The shade of a composite can change after it hardens. Always check your shade choice by hardening a small sample of the composite right on the tooth.
- Use Technology: For the best accuracy and fact-based choice, think about using a digital spectrophotometer like the VITA Easyshade® to help your visual check.
- Slant the Edge for Blending: Use a slanted edge when preparing the tooth to make a smooth change between the composite repair and the natural tooth, which helps spread light and hide the edges.