
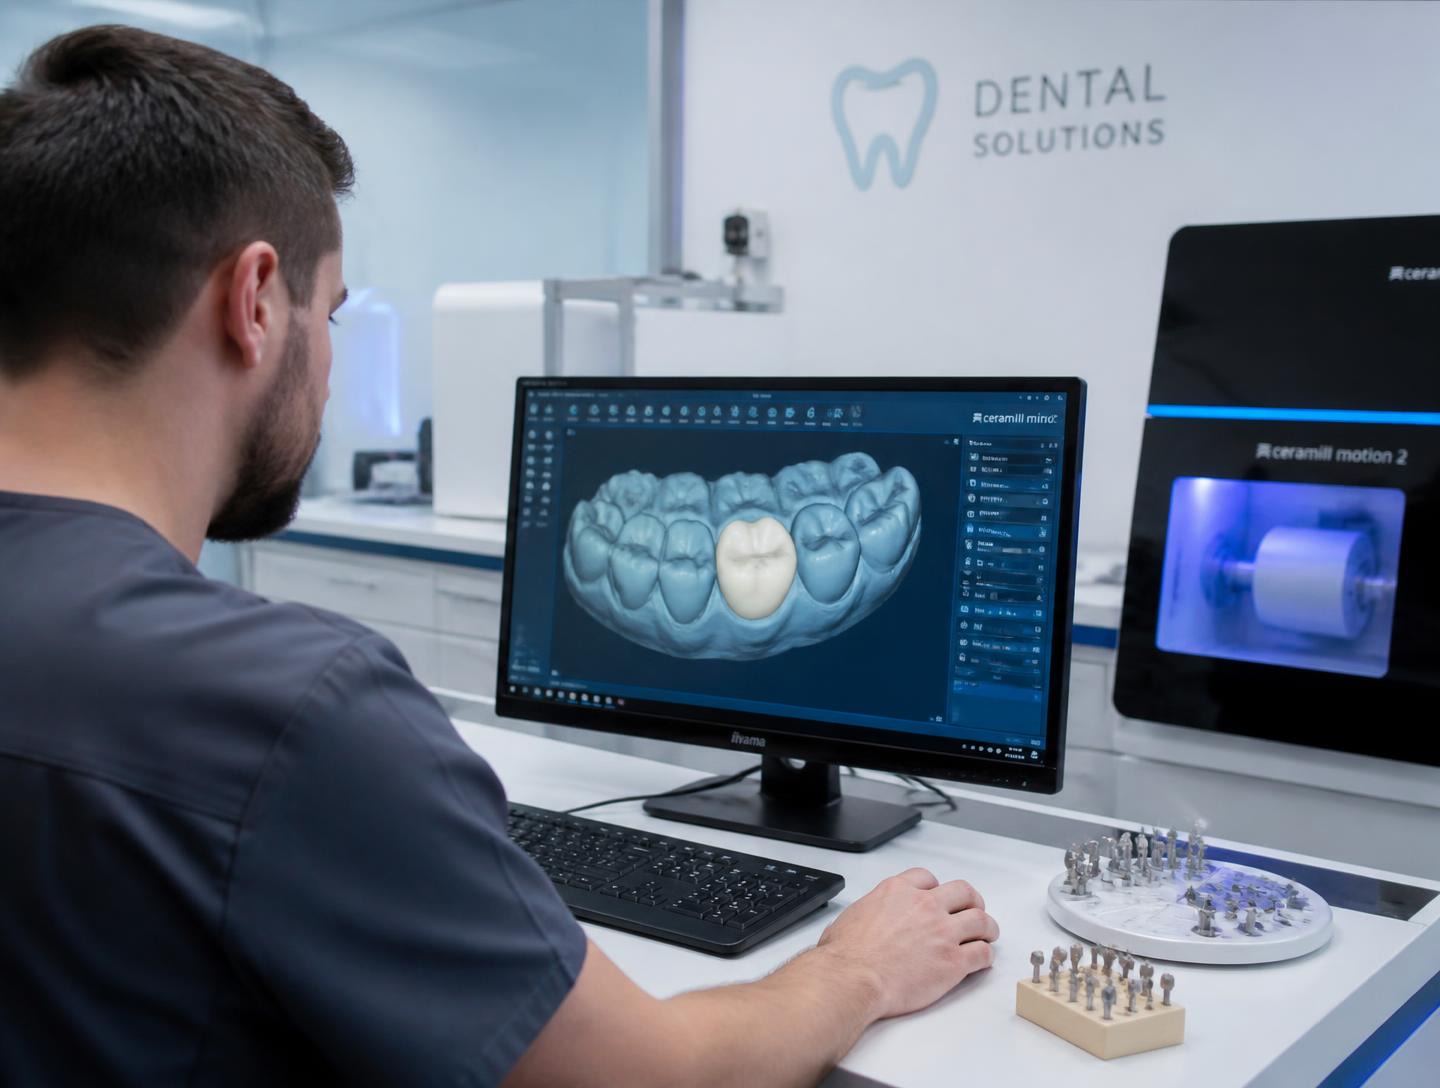
From scan to seat
Workflow
01.
Open your Istar account
Share your practice details, preferred products and delivery address. Our team confirms your account and case preferences before the first prescription arrives.
02.
Submit the case
Send an STL file from any major scanner, or ship the impression with your prescription. A technician checks the margin, shade and due date before production.
03.
Design and production
The case moves through CAD design, milling or printing, hand finishing and documented quality checks for fit, contacts, occlusion and esthetics.
04.
Tracked delivery
Each restoration is final-inspected, securely packed and shipped with tracking, giving your practice a dependable date for the seating appointment.
Send from the scanner you already use.
Model-less cases can be sent directly through your scanner platform or as open STL and PLY files. Our team confirms receipt and reviews the scan before the case enters design.
Digital inbox: [email protected]
Four checkpoints. One accountable team.
Every case stays traceable from prescription to dispatch. If the scan, margin or implant component needs a second look, a technician contacts your practice before production—not after the restoration is finished.
- 0 1
Case verification
Prescription, scan, margin and components reviewed.
- 0 2
Digital design
CAD design follows your saved clinical preferences.
- 0 3
Milling & finishing
Restoration produced, characterized and hand-finished.
- 0 4
Quality & delivery
Final checks completed before tracked dispatch.

Send the scan. We will take it from here.
Digital and traditional cases are both welcome.